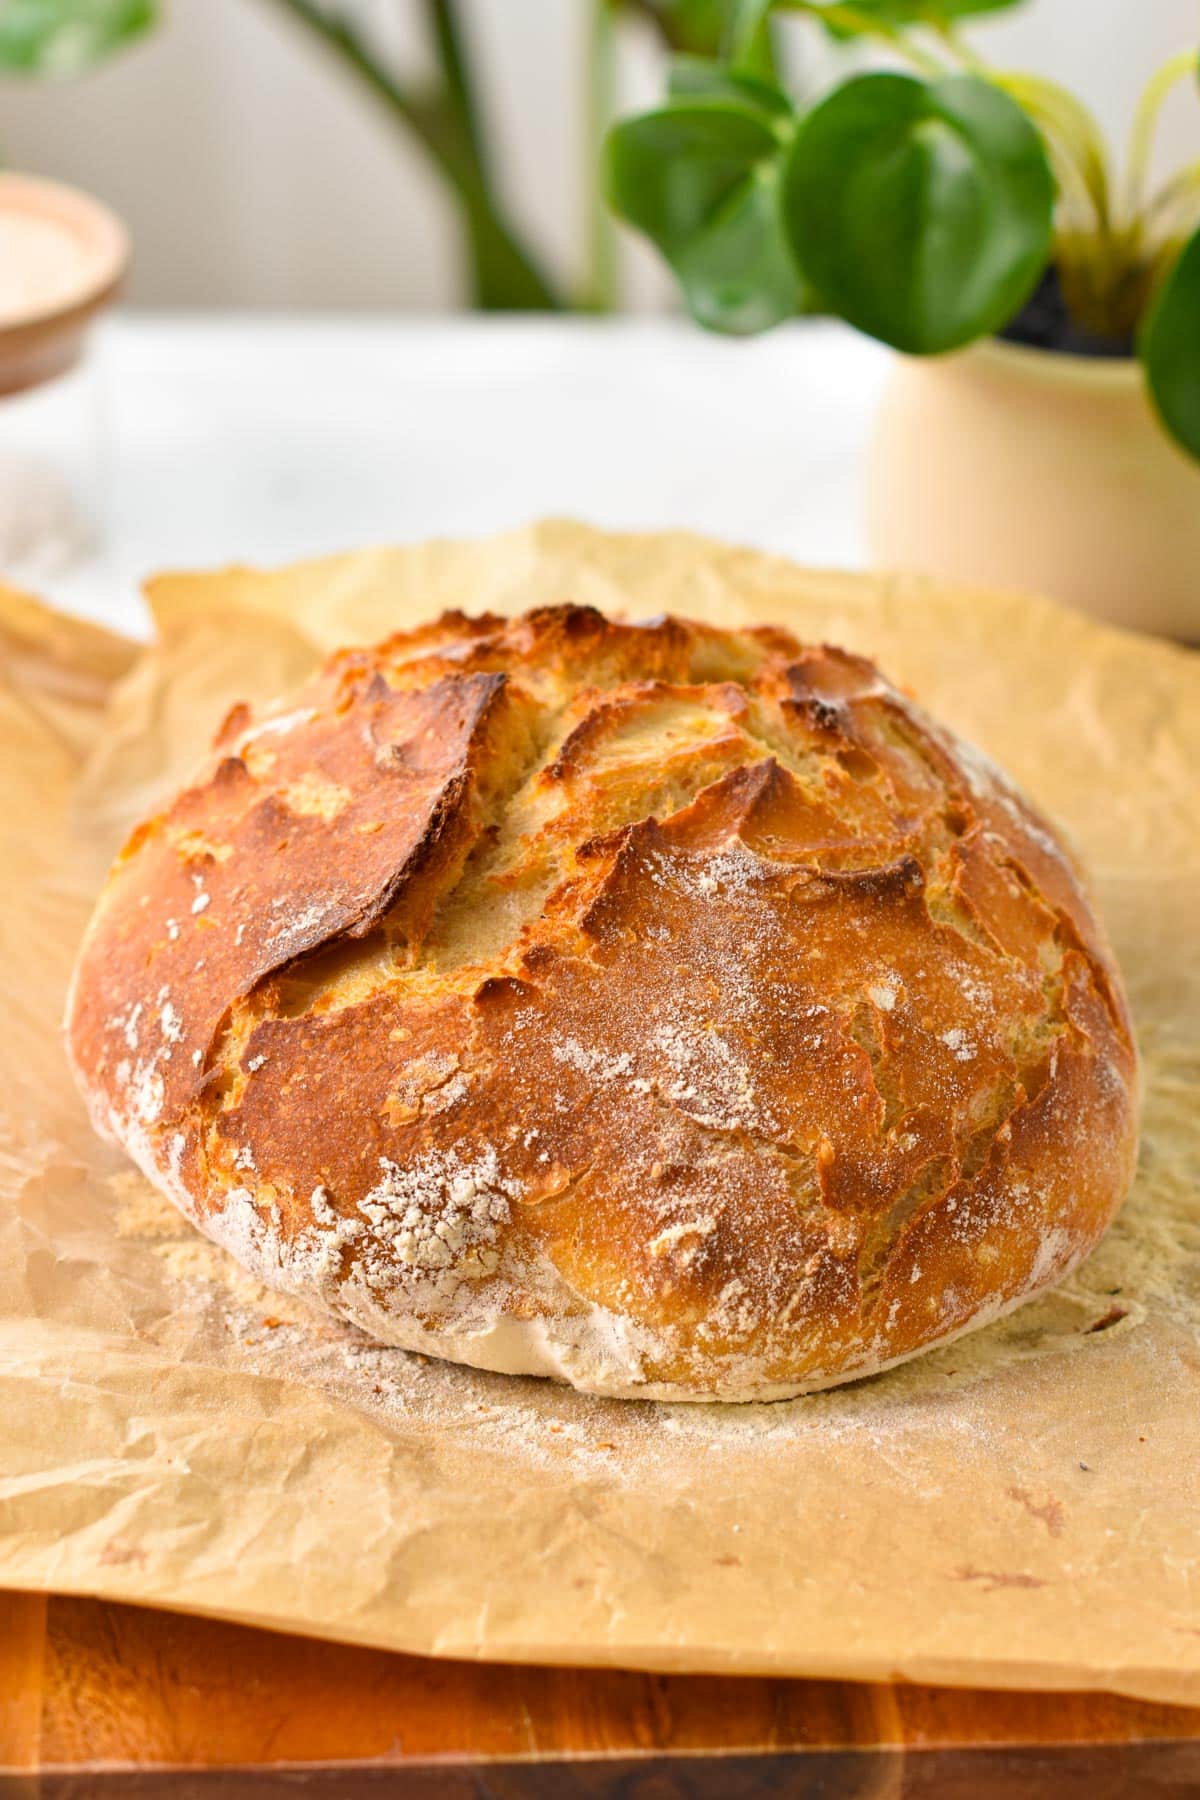
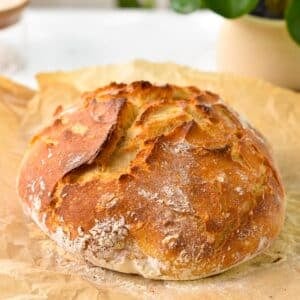
This 2-Ingredient Bread Recipe is a crusty homemade bread loaf made with kombucha for a crispy bread. It’s dairy-free and crusty like traditional Artisan bread but easy to make with minimal work.
I love 2-ingredient bread recipes. We often make our 2-ingredient flatbreads or vegan naan bread. But today, I was craving a crusty, bakery-style Artisan loaf. I don’t mind baking with yeast, and I like making fluffy vegan cinnamon rolls or vegan brioche.
But, let’s face it, it’s lots of work to make artisan bread with yeast. You must raise the dough twice, proof yeast, and knead the bread. This 2-ingredient kombucha bread is naturally raised by fermented kombucha and is inspired by a previous recipe I made while in lockdown, beer bread.
For this recipe, I swapped beer for kombucha to boost the airiness the bread and remove the need for additional yeast as the bacteria and yeast naturally present in kombucha work as a leavening agent.
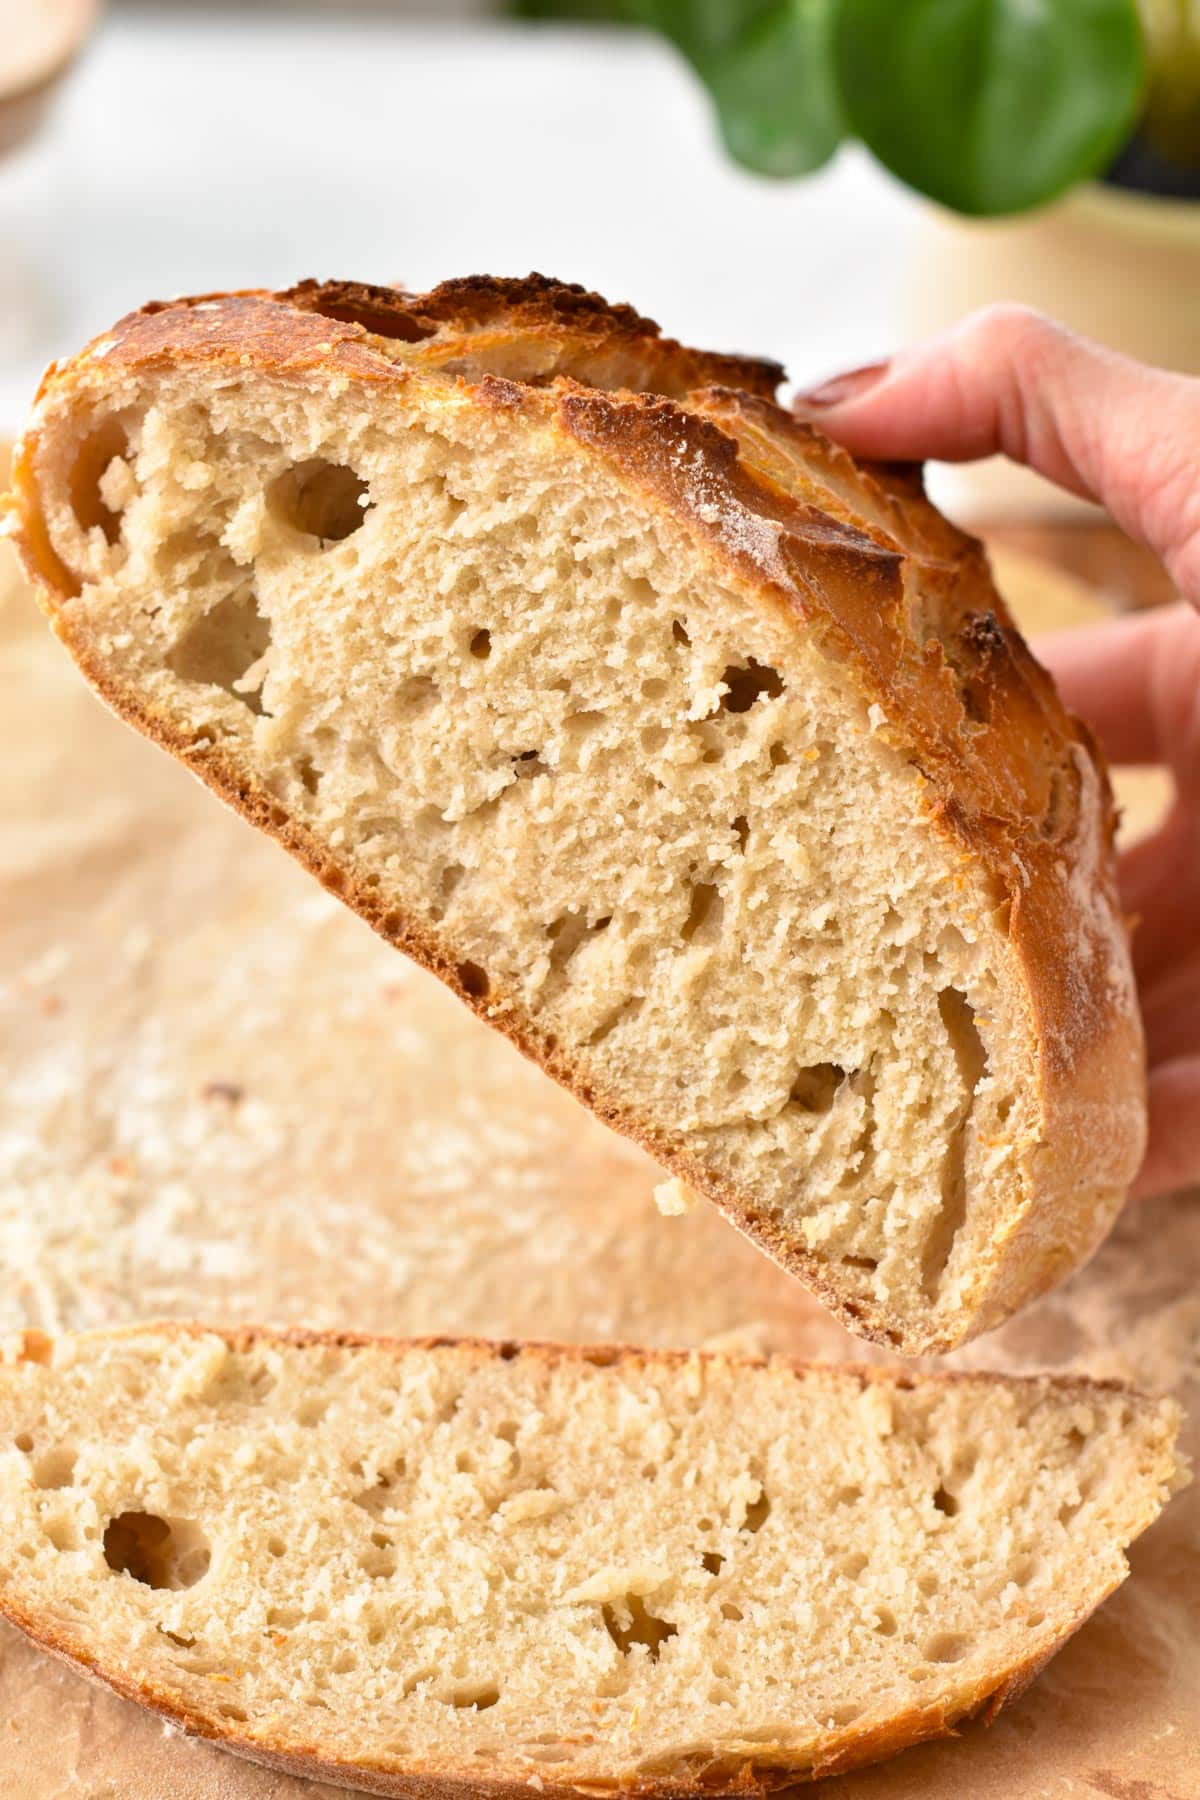
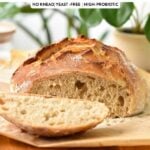
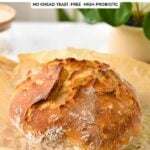
My first attempt wasn’t very good as I baked the bread in a loaf pan so it comes out white and soft. To create a crusty bread I decided to bake the bread in a Dutch oven to create a steaming effect and deliver a crusty, gold crust with a moist chewy bread crumb.
Why You Will Love This Bread
- No yeast proofing
- Gut-friendly
- No-kneading
- Crusty
- Dairy-free
- Egg-free
- Low-fat and oil-free
Ingredients and Substitution
- Self-Rising Flour – You can make homemade self-rising flour. To do so, to a cup of all-purpose flour add 2 teaspoons of baking powder. I don’t think gluten-free flour will do well in this bread recipe.
- Kombucha – I tested the recipe with classic, plain kombucha but also I baked the bread with ginger kombucha which makes it taste like beer bread, or with lemon lime kombucha which surprisingly, didn’t taste lemony at the end, just a little sweet. Any kombucha works, and I’m sure sparkling water would also work to some extent, but you would lose the benefits of the fermented drink.
- Optional add a pinch of salt, garlic powder, or herbs to flavor the dough.
Preparation
This is an easy no-knead artisan bread recipe, but for success, follow my tips and tricks below.
- First, measure the kombucha properly. It will foam in your measuring cup. Wait until the foam has settled, and make sure you fill the cup with liquid, not foam.
- Add self-rising flour and kombucha in a large mixing bowl and stir with a silicone spatula. The batter is sticky and quite wet, and that’s what you want.
- Oil a bowl, transfer the bread dough in the bowl, film tightly with plastic wrap, and place a towel on top of the bowl.
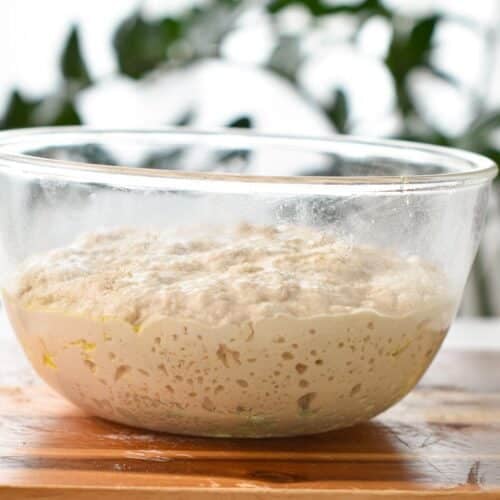
- Place the mixing bowl in a warm room – thick room temperature – and set aside overnight or at least 5 hours. You know the dough is ready when lots of large bubbles appear. My tip: Use a transparent mixing bowl to raise the dough so you can have a quick look through the bowl and see how the dough is going.
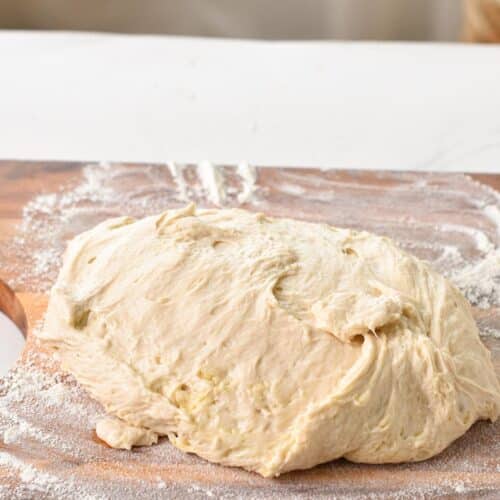
- Flour your work surface with 1-2 tablespoons of flour, or self-rising flour. Use a silicone dough scraper, a silicone spatula to push down the dough on the floured surface.
- Preheat the oven to 450°F (230°C). When the oven is warm, place a large Dutch oven or cast-iron skillet in the oven to prewarm for 20 minutes.
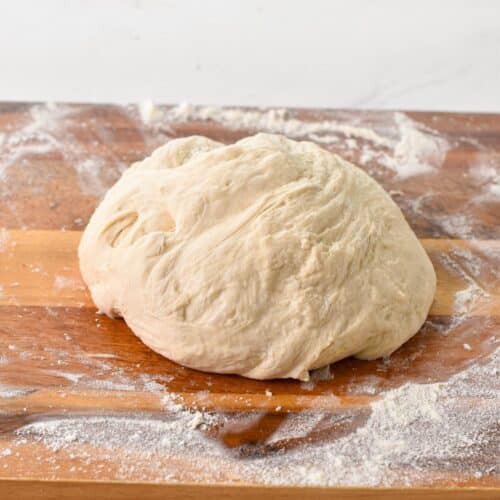
- Sprinkle 1-2 tablespoons of flour on top, and using the dough scraper, fold the sides inwards 5-6 times, not more. The dough should be moist, not liquid or too wet. It means that the dough ball you form after folding the sides stays in its shape. It doesn’t spread. If it does, add more flour and fold again.
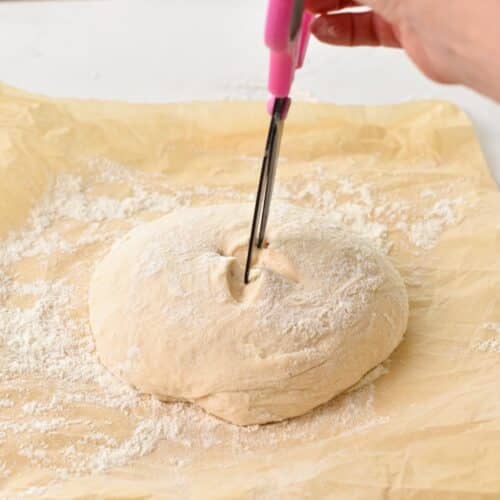
- Transfer the dough ball to a large piece of parchment paper. If you like, use a pair of scissors to score the top of the bread. I use a pair of scissors to cut a crisscross pattern on the top center of the dough ball.
- Remove the hot Dutch pan from the oven and using the hanging parts of the parchment paper place the bread in the hot pan – keep the dough on the piece of parchment paper.
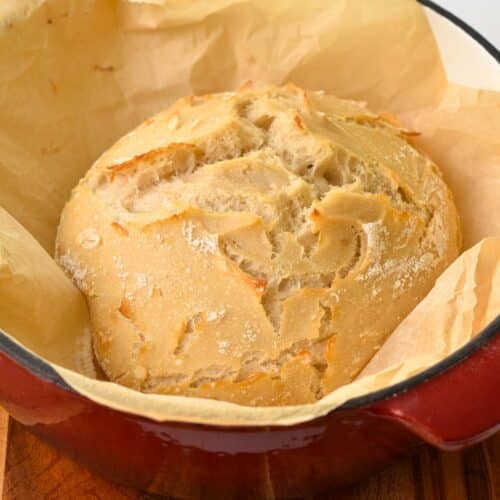
- Close the Dutch oven with its lid and bake the bread for 30 minutes at 450°F (230°C). After 30 minutes, remove the lid, the bread looks uncooked on top. Return to bread the oven for 15 minutes or until the top of the bread is just golden brown and crusty.
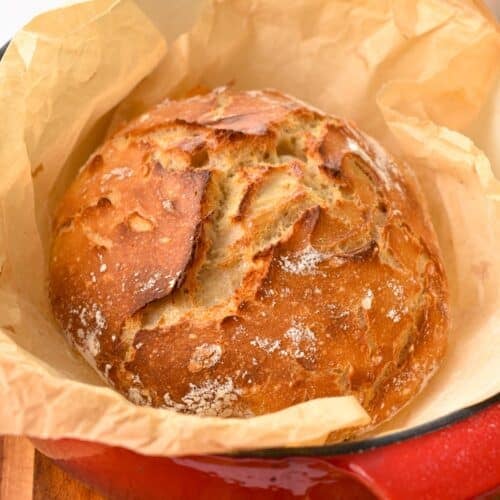
- Let the bread cool down to room temperature in the Dutch oven for 10 minutes, then on a cooling rack for 1 hour before slicing.
Serving
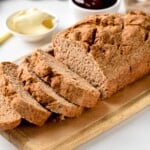
Slice the bread and serve with a sweet or savory spread, or use it as a sandwich bread. Here are some of my favorite spreads for this bread:
- Plant-based butter or nut butter, like peanut butter, almond butter, or cashew butter.
- Date caramel
- Vegan lemon curd
- Baby jam
- Guacamole
- Vegan cheese or try my almond ricotta
- Dip in olive oil
Frequently Asked Questions
You can bake the bread on a regular, metallic baking sheet or 9-inch loaf pan. Preheat the baking sheet in the center rack for 20 minutes. Just before baking the bread, fill a ceramic pot with boiling water and place it at the bottom of the oven to create steam. Next, place the bread on its piece of parchment paper, on the pre-warmed baking sheet, in the center rack. Bake for 40 minutes or until golden brown. It won’t have the same texture or color as baking in the Dutch oven, but it still tastes great.
The bread won’t work with almond flour or coconut flour. I didn’t try an all-purpose gluten-free flour blend for this bread recipe, and I can’t recommend it.
You can use beer, sparkling water, or just water. Any of these swaps will change the texture of the crumb and the color of the bread. For the same results as in my pictures, follow the recipe without swaps.
More Easy Bread Recipes
Did You Like This Recipe?
Leave a comment below or head to our Facebook page for tips, our Instagram page for inspiration, our Pinterest for saving recipes, and Flipboard to get all the new ones!
2-Ingredient Bread
Ingredients
- 2 cups Self-Rising Flour - + extra 2-3 tablespoons to shape the dough
- 1 cup Kombucha
Optional
- ½ teaspoon Salt
Instructions
- In a large mixing bowl, add self-rising flour and kombucha. Stir until the dough is wet, sloppy, not liquid like cake, but it looks elastic. If it is too liquid, add a bit more flour.
- Film the bowl tight with plastic wrap, cover it with a towel, and place it at room temperature for 5 hours or overnight.
- Preheat the oven to 450°F (230°C). Place a Dutch oven pan in the oven (note 3 if you don't have a Dutch oven pan) and prewarm for 20 minutes.
- Meanwhile, remove the towel and plastic wrap when the dough has rested for a minimal time and formed many bubbles.
- Sprinkle 1 tablespoon of self-rising flour on the working bench and spread it evenly.
- Using a silicone tool or dough scraper, push the dough out of the bowl on the floured surface. The dough is very wet, sticky and that's what you want.
- Sprinkle two tablespoons of self-rising flour on top of the dough and rub lightly to cover.
- Use the scraper to fold the sides inwards – to the center of the dough – until the ball is not spreading. If it doesn't hold a roundish shape (it doesn't have to be precisely round) and spreads, you need more flour. Don't knead it. Instead keep scraping from the sides to the center of the dough ball.
- Bring a piece of parchment paper on the benchtop, sprinkle some flour on it, and rub to cover the paper.
- Flour your hands and transfer the dough onto the parchment paper. Reshape into a ball if needed.
- Use scissors to score the top of the bread. I cut the top center of the dough into 0.4-inch deep cut crosswise to form a cross effect.
- Carefully remove the warm Dutch pot from the oven and using the hanging part of parchment paper, lift the dough and place it on its paper into the Dutch oven.
- Bake the bread for 30 minutes covered at 450°F (230°C), then remove the lid and keep baking for 13-15 minutes or until crispy on top and golden brown.
- Cool down at room temperature on a cooling rack before slicing.



Can you use yogurt instead of Kombucha ?
Yogurt and kombucha have nothing in common and won’t deliver the same texture and result. Kombucha can be swapped for sparkling water, or water. Feel free to experiment with other option but I can’t guarantee the texture will be similar.
can you add cheddar cheese??
I am pretty sure you can add grated cheese! I didn’t try so I am not sure how much will be a good amount
What is Kombucha?
fermented tea, but sparkling water works too
I tried to make this with gluten free flour and the recommended amount of baking powder. I wouldn’t recommend doing it – the results were not favorable. It was fun to try though!
I am not surprised, and that’s why the recipe state to not try gluten-free all-purpose flour. I am sorry you tried and wasted your ingredients. Next time, make sure you pick a recipe where I have a gluten-free option or one of my gluten-free recipes. Thanks for making my recipes.
Thank you for this recipe. I’m going to try this recipe.
If you swap it for beer, does the beer have to be warm?
No, it should work with room temperature beer!
Hi! Because the other 2 recipes of yours I tried were so delicious I decided to try this one. Problem is that while it is naturally a plant based recipe ( yeah!) my husband is celiac and I did not have Kombucha- but I needed to try this, so it is in the oven now using buckwheat flour (I added the said amount of baking powder in note 1 ) and gluten-free beer to replace the kombucha ( as stated in note 2) and have fingers crossed it is going to rise and be amazingly delicious as your other recipes! Again I’d like to thank your for your generous spirit and lovingly sharing all your knowledge and talents!!!
Love this bread. Need recipe
What size Dutch oven do you recommend?
I recommend at least 5 quarts (26 centimeters in diameter).
Hi. My dough isn’t wet after I mixed it. Will it still rise ok?
It needs to be a bit sticky, not wet-wet.