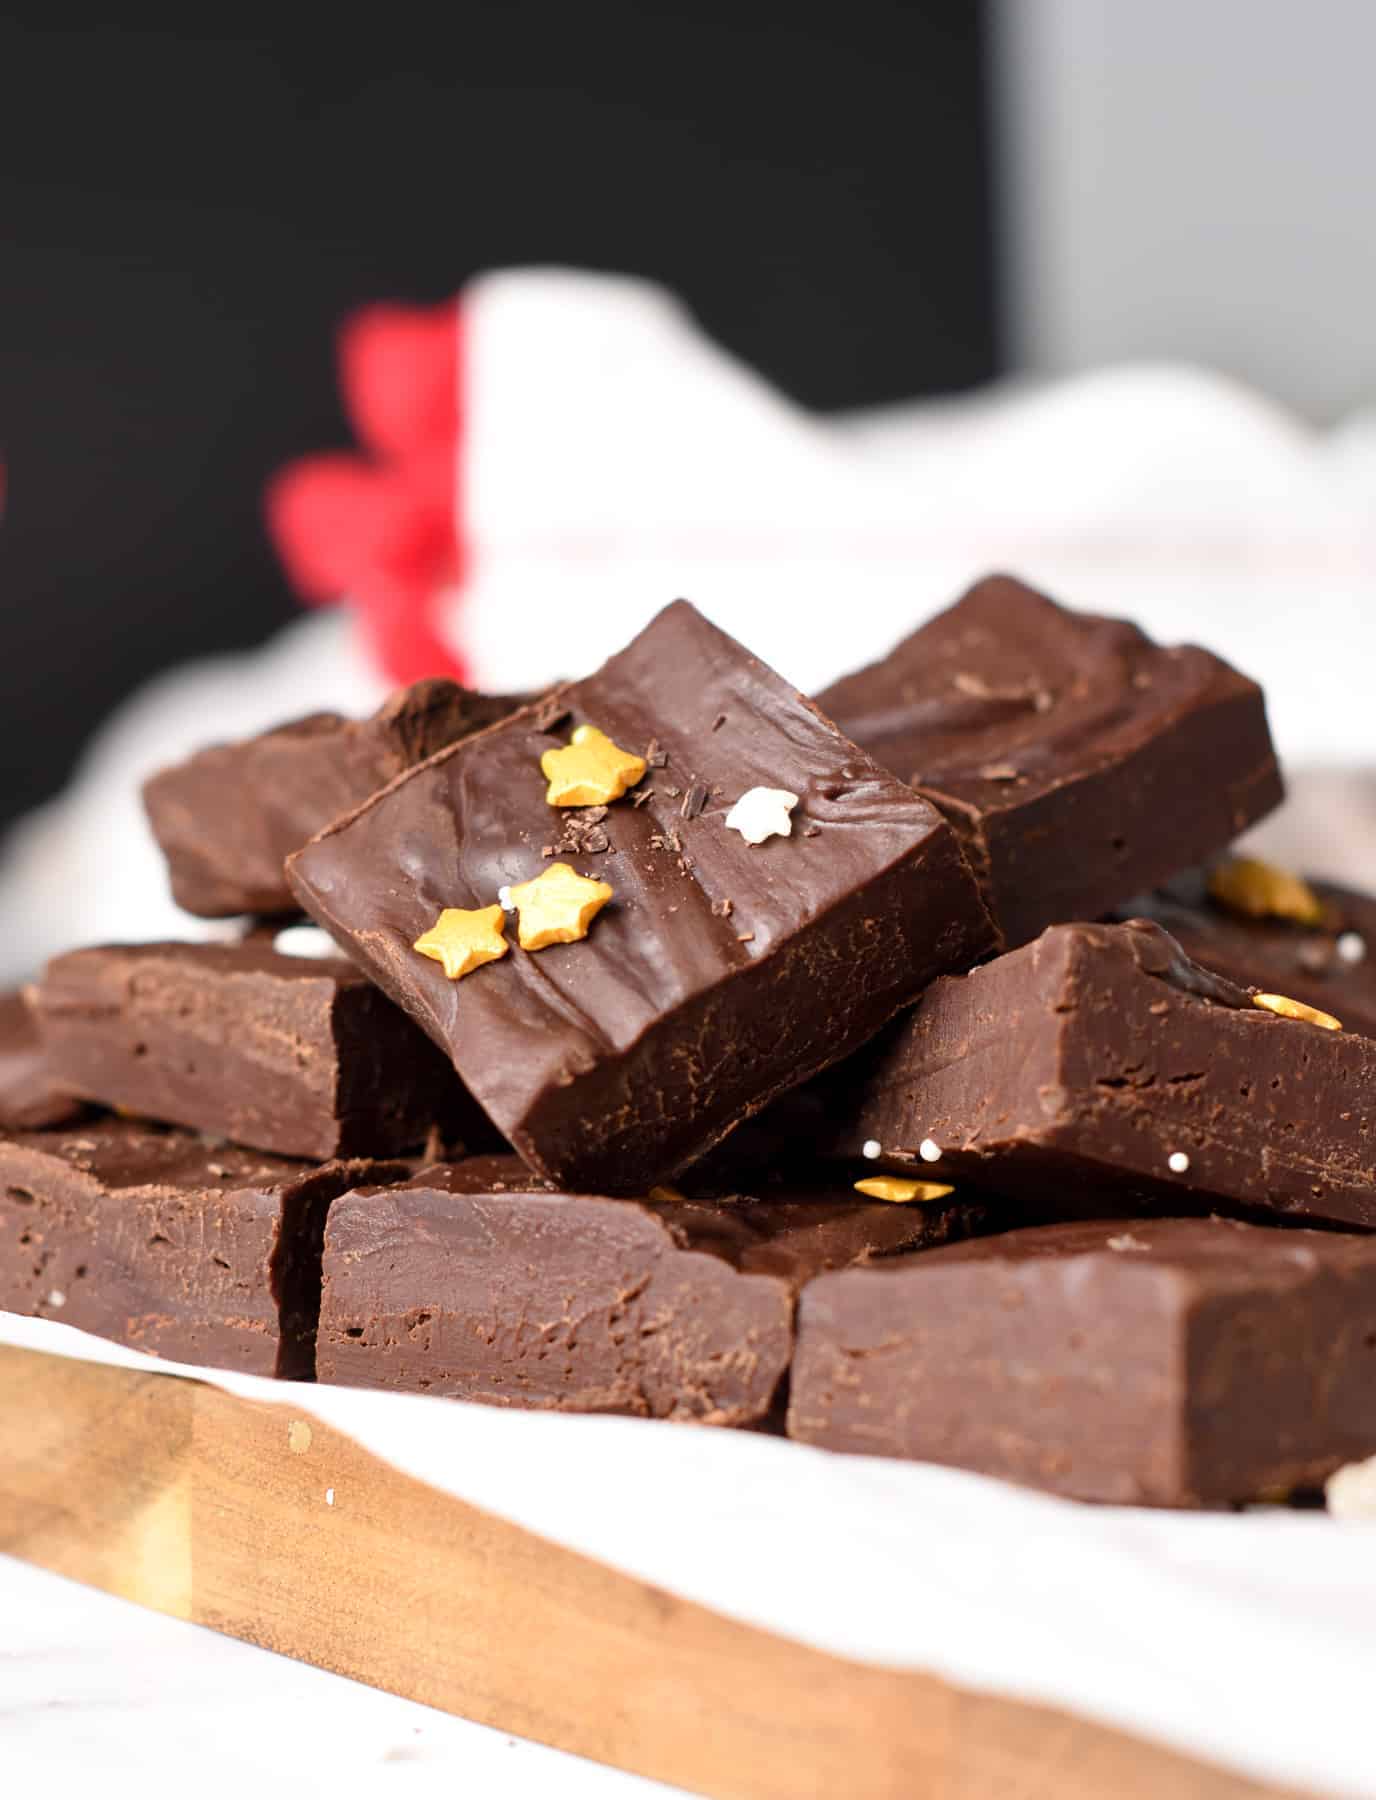
This easy, sweet 2-Ingredient Fudge recipe that melts in your mouth with a delicious chocolatey and chewy texture. It’s a perfect last-minute sweet treat for your holiday dessert table, 100% vegan, gluten-free, and dairy-free.
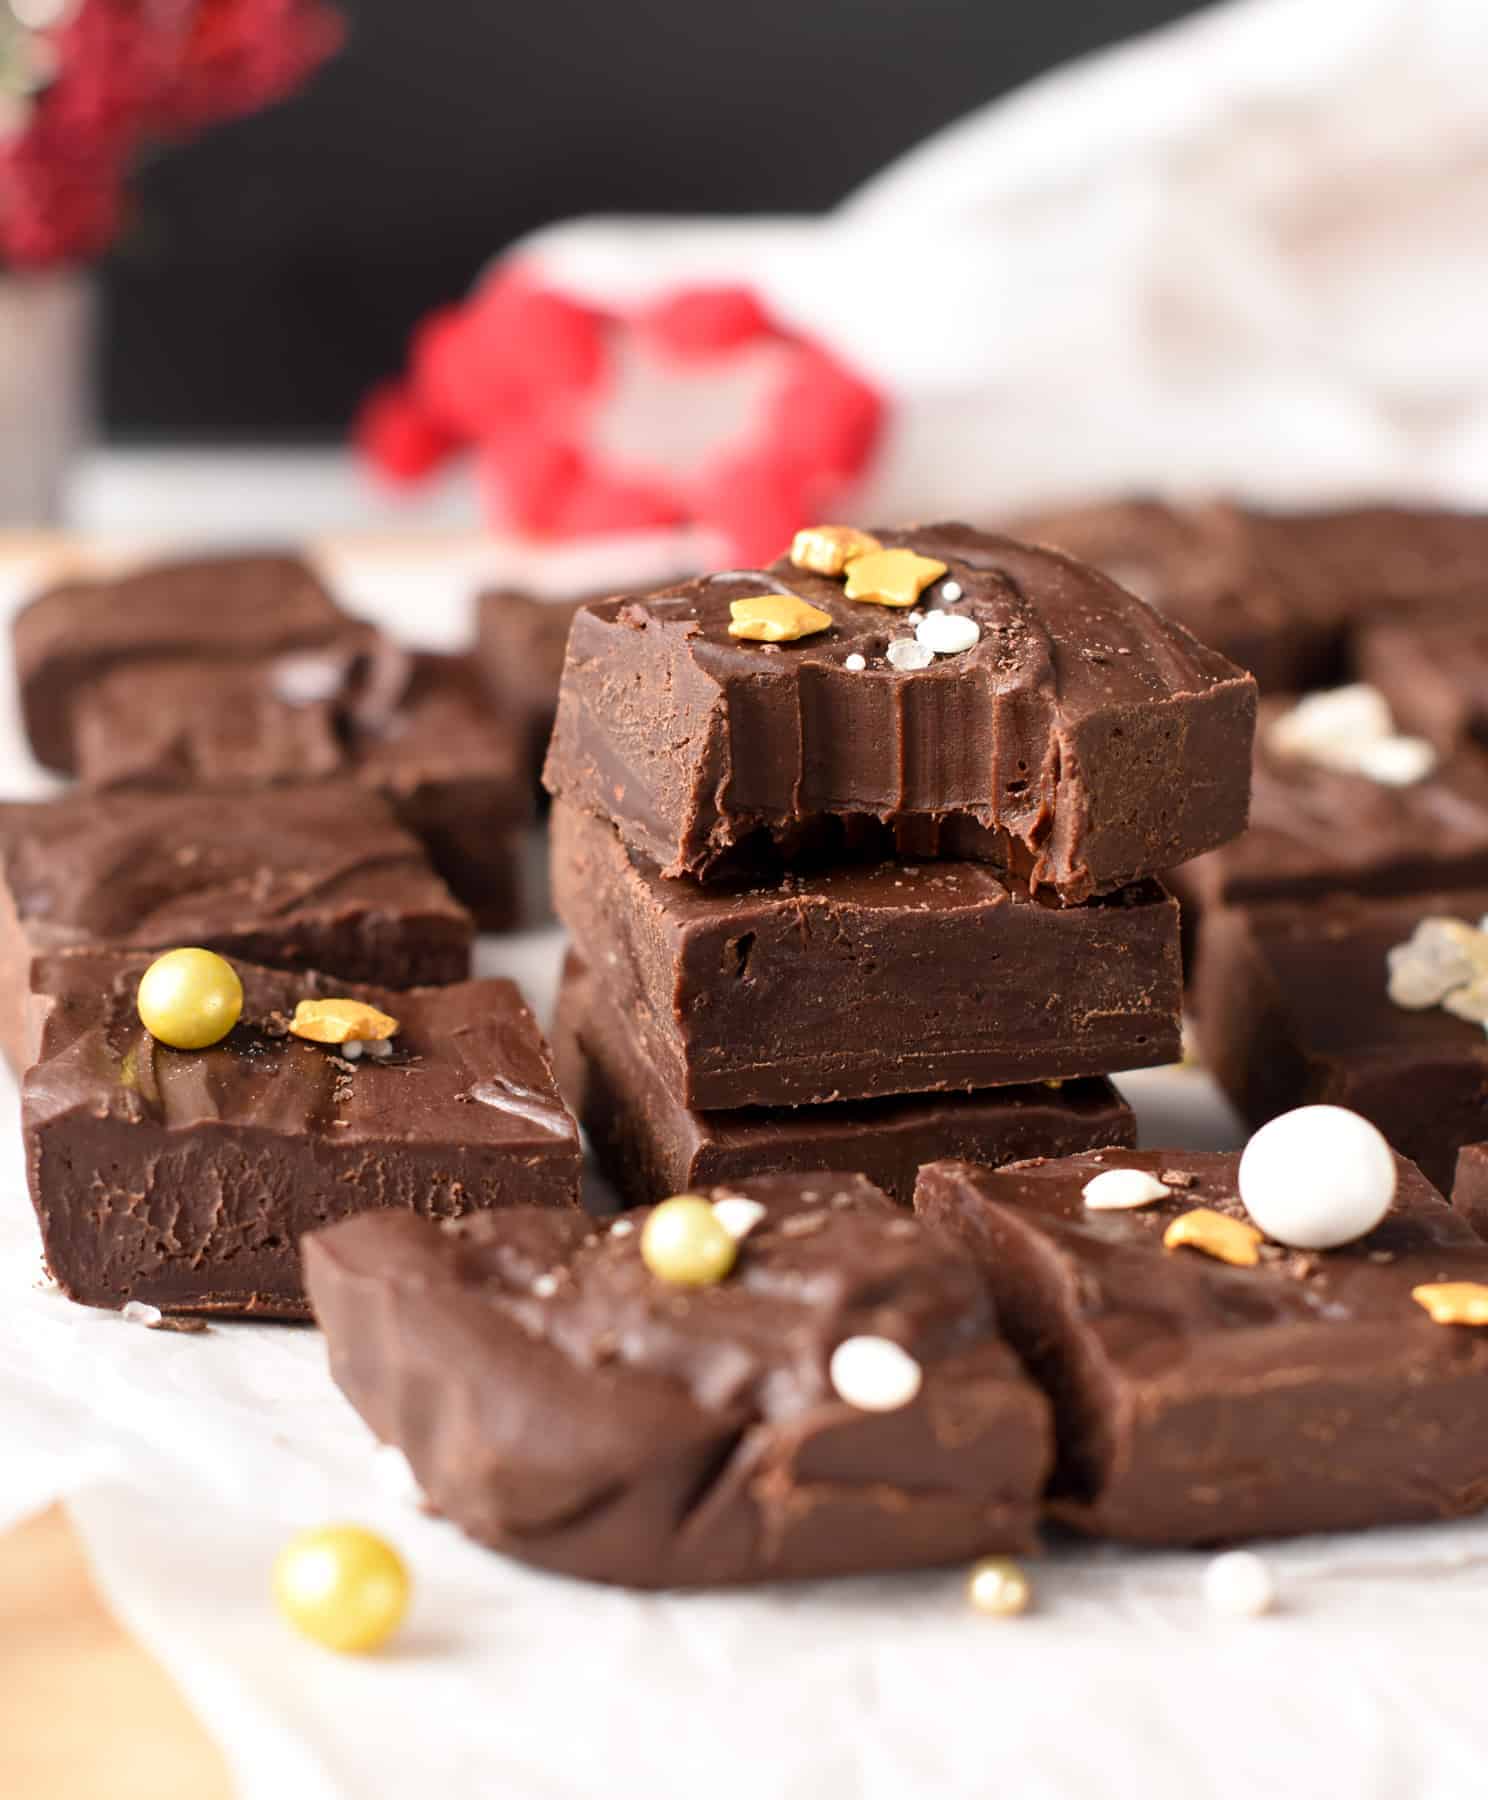
I love dessert recipes with as few ingredients as possible like my 2-Ingredient Banana Donut Holes, 2-Ingredient Peanut Butter Cookies, or Healthy Banana Brownies. I love adding a sweet note to our weekly menu, but sometimes, you don’t want to spend hours in the kitchen.
This simple recipe is pretty handy for that, or if you are working on Christmas day and you still want to make something yourself in a minute! So let me share with you how you can simply whip a batch of vegan chocolate fudge with two ingredients.
Ingredients and Substitutions
All you need to make a delicious chocolate fudge are 2 ingredients:
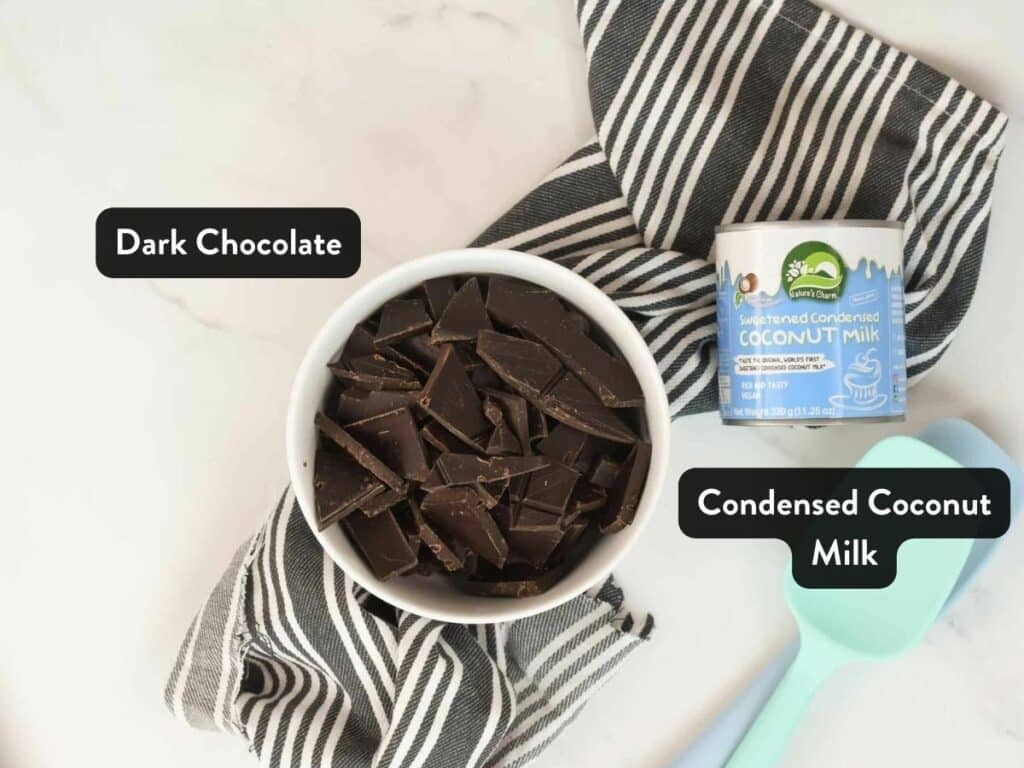
- Chocolate Chips or dark chocolate – The choice of chocolate matters when it comes to fudge. If you are using poor-quality chocolate chips, don’t expect the fudge to be good. I prefer high-quality dessert chocolate with 70% cocoa. It has a much stronger chocolate flavor than semi-sweet chocolate chips and less sugar, which balances the added sweetness from condensed milk. You can also use white chocolate with this recipe for vegan white chocolate fudge.
- Condensed Milk – Since we don’t use dairy in our recipes, we use sweetened coconut condensed milk. Is it healthier than classic condensed milk? Not really! It’s actually slightly sweeter than regular condensed milk, with almost 1/3 more sugar per serving, and slightly higher in saturated fat because it’s made of coconut. But fudge is a treat, and if you prefer healthier fudge options, try my Healthy Peanut Butter Fudge or 4-Ingredient Chocolate Fudge instead.
How To Make 2-Ingredient Fudge
This is one of the easiest fudge recipe you’ll find!
- Depending on how thick you love your fudge, you can opt for an 8-inch x 8-inch pan, as seen in the pictures below, or a 9-inch x 11-inch loaf pan. The second option makes super thick pieces of fudge, so I prefer the square pan, but it’s up to you.
- Then, line the pan with parchment paper lightly oiled with an oil spray or coconut oil.
- Use some wooden clips to hold the paper on the side of the pan, so it doesn’t fall into the chocolate fudge mixture when you spread it in the pan.
- Set aside the pan and start melting the ingredients.
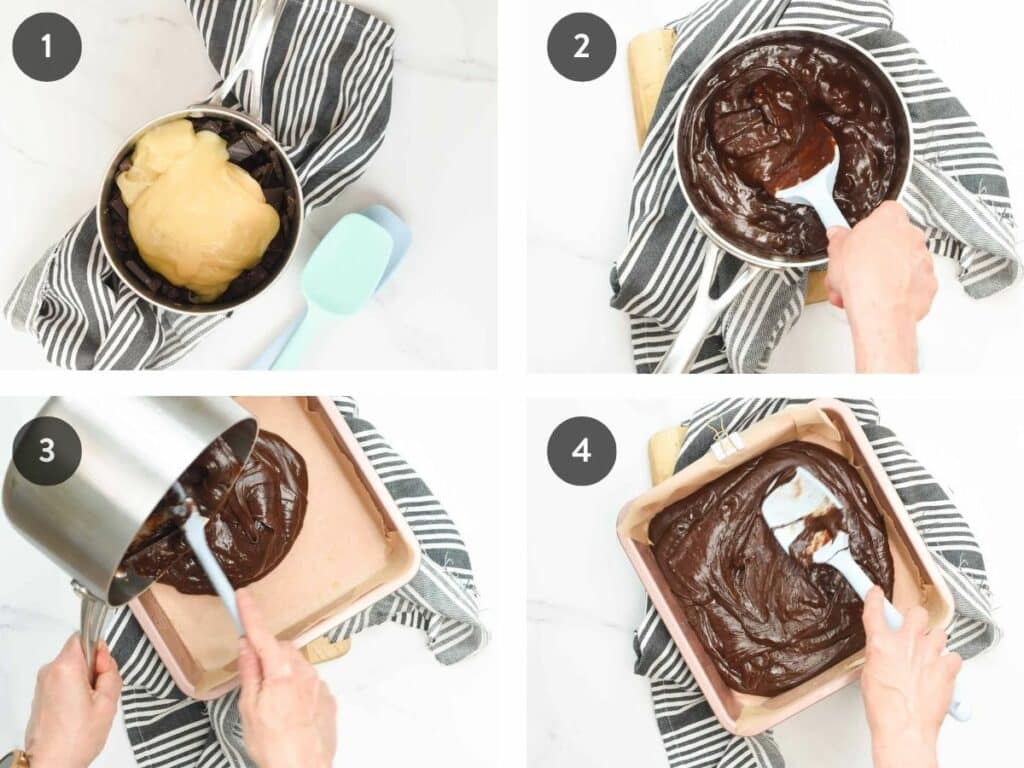
- You have two options for melting the 2 ingredients together. Stove Option: Bring all the ingredients into a medium saucepan over low-medium heat (photo 1). Don’t over-heat the saucepan, or you will burn the chocolate. Stir and cook until all the chocolate is melted and it forms a thick, shiny chocolate paste. Microwave Option: In a glass bowl or microwave-safe bowl of choice, add the ingredients and microwave with 30-second bursts, stirring after each time. Making a microwave fudge recipe is incredibly fast and simple.
- Repeat these steps until you have completely melted the chocolate (photo 2).
- Pour the chocolate fudge mixture into the prepared pan (photo 3).
- Spread it evenly with a silicone spatula, and if you like, decorate the top of the fudge with some sprinkles, chopped nuts, or pinches of salt (photo 4).
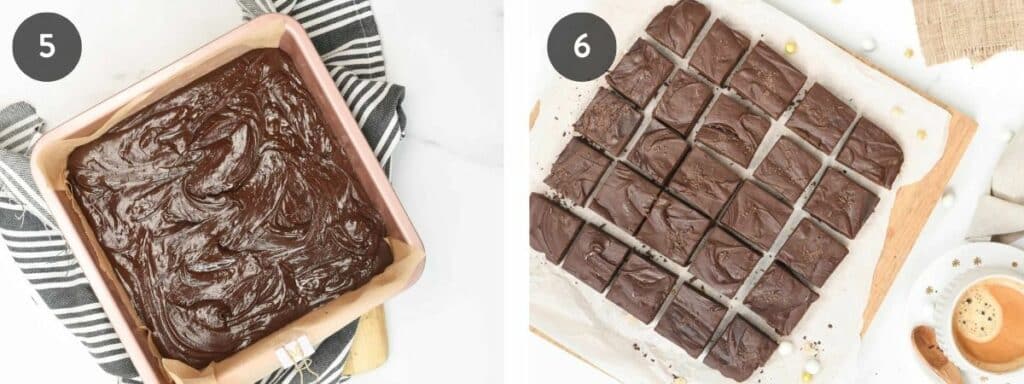
- You now have two methods for hardening the fudge. Room Temperature: This method is my favorite, even if it takes a little bit of time to firm up the fudge. The reason why I love setting fudge at room temperature are Best fudge texture – The fudge will have the perfect texture and temperature. On the first bite, it bursts into chocolate flavors. It’s not cold, and it’s sweet and chewy. Amazing shine – The chocolate won’t lose its shine at room temperature. It makes a much more beautiful fudge. You will need more patience with this method. It takes at least 3 hours for the fudge to set at room temperature, and this works if your room is under 23°C/73°F. Fridge Method: The fast method for a quick treat is to pop the pan for 20 to 30 minutes in the fridge, and your fudge will set quickly. Don’t keep it longer, or it will get a matte color on the top, and it will lose its shiny look that is so beautiful.
- Once the fudge has set, slice it with a sharp knife into 25 squares and decorate it with your favorite sprinkles.
Flavor and Texture Variations
You can make this easy fudge recipe even better by adding some of the below ingredients in the batter. Stir in 1/2 cup of:
- Chopped Pecan or Walnuts
- Zest of Orange
- Toasted Almonds
- Vegan Mini Marshmallow
- Dried Cranberries
- Vegan White Chocolate Chips
Or sprinkle some holiday decorations on the top, like Christmas sprinkles or a pinch of salt.
Storage Instructions
Fudges don’t need to be refrigerated, and the same goes for this 2-ingredient fudge. It lasts up to 2 weeks in an airtight box in the pantry. But you can, of course, store the fudge in the refrigerator if it’s hot where you live or if you prefer cold fudges.
I recommend popping out the fudge from the fridge at least 30 minutes before eating to give the chocolate some time to get back to its softer chewy texture.
Frequently Asked Questions
This fudge has a delicious chocolate taste wrapped in a sweet fudgy texture like traditional fudge.
While some fudge recipes use vanilla or chocolate frosting, I find using sweetened condensed milk made with coconut easier and healthier.
The secret to making vegan fudge with only two ingredients is to use coconut condensed milk.
Rocky Road fudge is a recipe from Australia and New Zealand that adds a mixture of nuts, seeds, marshmallows, candies, and dried fruits to the batter.
More Fudge Recipes
I love creating fudge recipes for any occasion, and below are some other easy dessert options for you to try. All are vegan fudge recipes made without dairy.
Did You Like This Recipe?
Leave a comment below or head to our Facebook page for tips, our Instagram page for inspiration, our Pinterest for saving recipes, and Flipboard to get all the new ones!

2-Ingredient Fudge
Ingredients
- 3 cups Dairy-Free Dark Chocolate Chips - or 70% cocoa chocolate tabs, chopped into pieces
- 12 oz Coconut Condensed Milk - or any condensed milk brand you like
Instructions
- Line an 8-inch x 8-inch baking pan with parchment paper. Lightly oil the paper with coconut oil. Set aside.
- In a medium saucepan, add chocolate chips or chocolate pieces and top with condensed milk.
- Bring to low-medium heat, stir until the chocolate is melted and a shiny, thick mixture forms.
- Pour and spread evenly into the prepared baking pan.
- Keep 3 hours at room temperature, or overnight, to firm up. You can also firm up the fudge in the fridge in 30 minutes, but it loses its shine, so I prefer room temperature.
Storage
- Cut into 16 squares and store in a cool place in the pantry, in an airtight container. This fudge doesn't need to be refrigerated. But you can also store the fudge in the fridge if it's hot where you live, but its texture won't be as soft and chewy. Bring to room temperature 1 hour before eating for the best texture if you choose to store your fudge in the fridge.




Great idea, thanks!!
All I’ve been able to find is “sweetened” condensed coconut milk. Will that work OK?
Yes, that’s what you need!
Hi guys, to get the equivalent of choc chips in block chocolate, what is the weight we’re aiming for please? Cheers, Tony 🙂
Hi Tony,
You need 540 grams of chocolate for the recipe.
Quick tip, you can click on the metric button to see the grams!