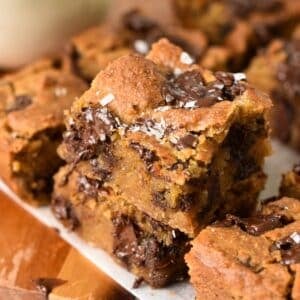
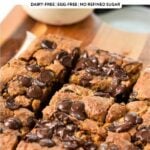
These Chickpea Blondies with peanut butter are healthy, fudgy, vegan blondies with chocolate chips. It’s a delicious healthy vegan protein dessert or snack ready in 30 minutes!

Vegan Blondies are similar to vegan brownies. Well, except for the color, hence their name. Brownies are named for their chocolate color, the same is true for blondies.
They are blonde because of the lack of chocolate in their dough, replaced with vanilla.
Ingredients and Substitutions
This is the key to making blondies with canned chickpeas. All the other ingredients you need are pretty simple pantry staples:
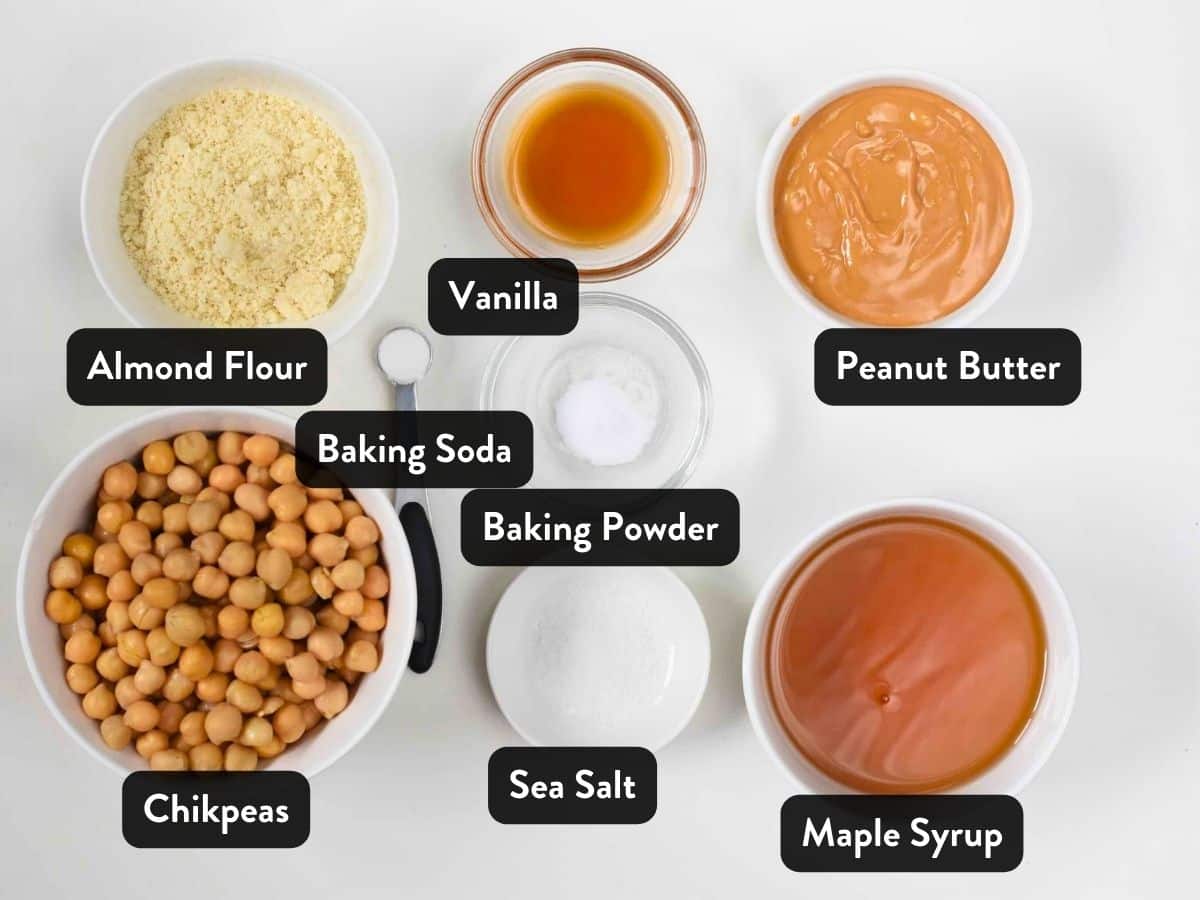
- Canned Chickpeas – Canned chickpeas, also known as Garbanzo beans must be drained and towel-dried, to remove any excess water that could make the blondies too soft and fragile. If you love chickpeas, try my other chickpea recipes.
- Maple Syrup – or any unrefined liquid sweetener of your choice, such as coconut nectar or rice malt syrup.
- Peanut Butter – you need to use fresh, runny natural peanut butter with no additives (no oil, no sugar).
- Dark Chocolate Chips – or pieces of 70% dark chocolate. Most dark chocolates with more than 70% cocoa are vegan-friendly.
How To Make Chickpea Blondies
Chickpea blondies are fudgy healthy blondies bars made in 10 minutes in your food processor using canned chickpeas. The trick to making a fudgy blondie with chickpea is to drain and towel-dry the chickpea first!
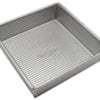
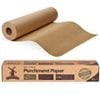
- Preheat the oven to 350°F (180°C). For a thin blondie, line an 8-inch x 8-inch brownie pan with parchment paper. For a thicker blondie, use a 6-inch x 6-inch pan. Set aside.
- Open the can of chickpeas, rinse, and drain them thoroughly. Then, use a clean towel to dry/rub the chickpeas, removing all the water or moisture. This is very important, as too much moisture will make the blondies fragile and dense.
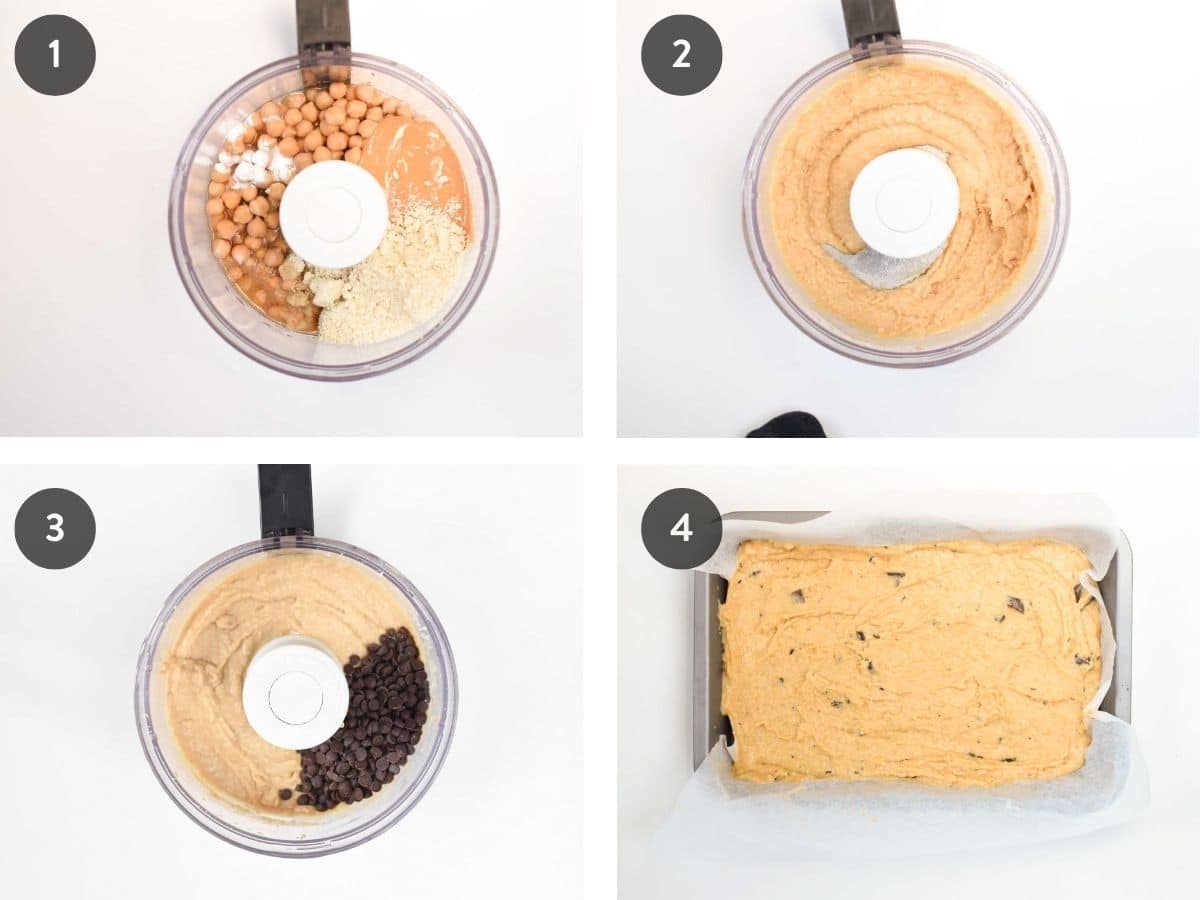
- Place the chickpeas in the bowl of a food processor and add the peanut butter, maple syrup, vanilla, baking soda, baking powder, and salt (photo 1). Blend on high speed for 1 minute or until the mixture is smooth and no big lumps are left (photo 2).
- Add the almond flour and process again at high speed for 15-30 seconds, or until evenly blended (photo 3).
- Remove the food processor blade and stir in the chocolate chips. Set aside 3 tablespoons of the chocolate chips for sprinkling on top of the blondies before baking. This will prevent the blondies from becoming too brownie-like, as too many chocolate chips in the batter will melt and make the blondies too dense.
- Spread the blondie batter evenly into the prepared baking pan and sprinkle the reserved chocolate chips on top (photo 4).
- Bake the blondies for 20 to 30 minutes at 350°F (180°C) until the blondies are golden brown and crusty on top. The cooking time will vary depending on the size and depth of your baking pan. If your pan is wider, the blondies will cook faster. If your pan is smaller, the blondies will be thicker and may take longer than 30 minutes to set.
- To check if the blondies are done, insert a toothpick into the center. If the toothpick comes out clean with a few crumbs attached, the blondies are ready.
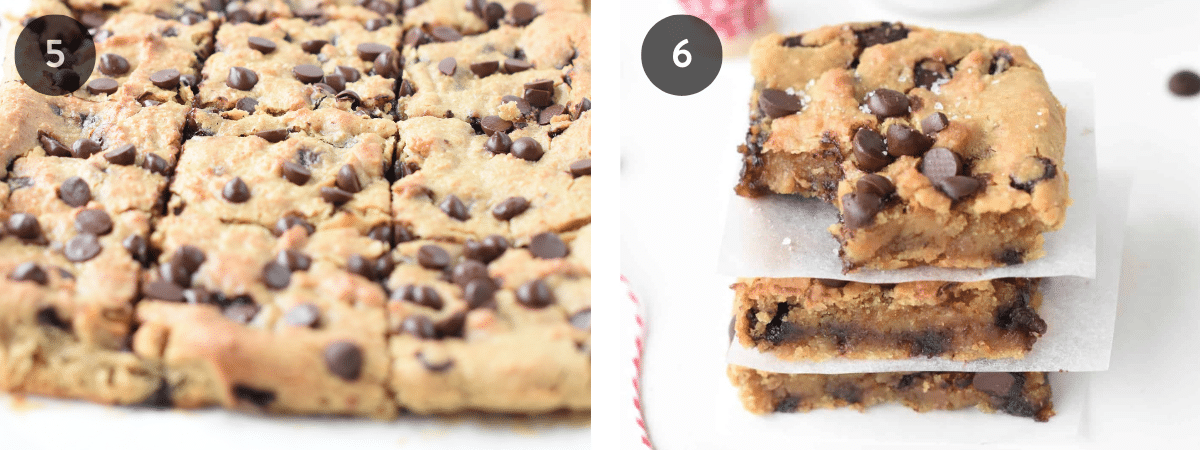
- Let the blondies cool in the pan for 10 minutes to firm up. Do not skip this step, or the blondies will break.
- Once the blondies have cooled slightly, use a knife to gently loosen the sides and then lift the parchment paper to easily remove the blondies from the pan and transfer them to a cooling rack. Be careful, as the blondies will still be soft and fragile. If they are too soft or moist, let them cool for an additional 10 minutes before transferring them to the cooling rack. This will help to prevent the blondies from breaking.
- Let the blondies cool completely for at least 1 hour before slicing and serving. They may be fragile if sliced too soon.
- After 1 hour, you can optionally refrigerate the blondies for an additional hour. This will give them a fudgier texture and make them easier to slice.
Step-By-Step Video
Tip For Other Flour Types
This recipe is flourless, meaning there is no all-purpose flour used. Instead, the recipe uses almond flour, which is fine, blanched ground almonds.
Another option is oat flour that you can make at home by pulsing rolled oats in your blender for 30 seconds.
Allergy Swaps
While I love the combination of chickpeas and peanut butter in this recipe, there is a nut-free option! First, you can replace peanut butter with sunflower seed butter (be careful, as it might turn the batter slightly green).
Next, swap the almond flour with oat flour. Finally, if you can eat almonds and you are only looking for a peanut-free option, replace peanut butter with any other nut butter, such as almond butter or cashew butter, and keep the almond flour.
Frequently Asked Questions
They last easily 3 to 4 days in an airtight container. If you store them in the fridge, they can last for a week. While they dry up a little, they are still absolutely delicious.
Yes, you can freeze chickpea blondies individually, in zip-lock bags, or in an airtight box.
If you are using a box, separate each blondie bar with a piece of parchment paper to prevent them from sticking together.
Defrost your chickpea blondie bars on the counter the day before or at least 3 hours before.
Not at all, they have a sweet, chocolatey taste and a very moist texture. It’s a delicious treat that everyone will love.
More Healthy Vegan Dessert Recipes
If you love these healthy vegan blondie bars, you will probably love my vegan brownie recipes!
Did You Like This Recipe?
Leave a comment below or head to our Facebook page for tips, our Instagram page for inspiration, our Pinterest for saving recipes, and Flipboard to get all the new ones!
Chickpea Blondie Recipe
Ingredients
- 1 ½ cup Canned Chickpeas - or 1 can of canned chickpea of 400g (14 oz), drained, towel-dried
- ⅓ cup Peanut Butter (Unsalted) - or sunflower seed butter if nut-free
- ½ cup Maple Syrup - or any liquid sweetener like agave syrup or date syrup
- ½ tablespoon Vanilla Extract
- ¼ teaspoon Baking Powder
- ¼ teaspoon Baking Soda
- ½ teaspoon Sea Salt
- ⅓ cup Almond Flour - or oat flour
- ⅓ cup Dairy-Free Dark Chocolate Chips
Instructions
- Preheat the oven to 350°F (180°C). Line a 8-inch x 8-inch brownie pan with parchment paper. You can also use a 6-inch x 6 inch pan for a thicker blondies. Set aside.
- Open the can of chickpeas, rinse, drain and dry/rub the chickpeas in a clean towel to remove all the water or moisture. This is very important, or the blondies will be fragile and too moist.
- Place the chickpea in the bowl of a food processor and add peanut butter, maple syrup, vanilla, baking soda, baking powder, and salt.
- Blend on high speed for 1 minute or until smooth, and no big lumps are left.
- Add in almond flour and process again at high speed for 15-30 seconds to blend evenly.
- Remove the food processor blade and stir in chocolate chips. I recommend keeping 3 tablespoons on the side and sprinkling them later on top of the blondies. This prevents adding too many chocolate chips in the batter that will melt and turn your blondies into brownies.
- Spread the blondie batter evenly onto the prepared baking pan and sprinkle the chocolate chips you set aside on top.
- Bake 20 – 30 minutes or until golden and crusty on top. If your pan is wider, it will cook way faster. On the other hand, if your pan is smaller, the blondies are thicker, and it may take more than 30 minutes to set. Always insert a pick in the center of the blondie to check baking. If it comes out clean with little crumbs, it is ready.
- Cool 10 minutes in the pan to firm up the blondies. Don't skip this, or they will break. Then gently loosen the sides with a knife and lift the pieces of parchment paper to easily release the blondies from the pan and transfer it onto a cooling rack. Careful, the blondies will still be soft and fragile. If you feel it is too soft or moist, wait for 10 more minutes before transferring it onto the cooling rack. This prevents the blondies from breaking.
- Cool for at least 1 hour before slicing into 1 bar, or they can be fragile. After 1 hour, you can pop the blondies in the fridge for 1 hour. It will add an extra fudgy texture and make it easier to slice.
Storage
- Store up to 5 days in the fridge in an airtight container.




They came out so delicious but they were so crumbly. Any idea where I went wrong? Thank you!
I am sorry about that.It might be your peanut butter that wasn’t as runny and drippy as mine.
These were SOOOOO GOOOOD. I had to give 1/4 of the pan away to stop me from eating all of it in one day. (Took two days…)
Thank you!!! These never last long here either
I did 4 x the recipe and made 3 trays 8×8. I cooked at 160 degrees for an hour let them cool a refrigerated. They turned out great and still gooey.i added some sugar about 2 cups and extra chocolate drops in the mix and on the top. I will make them again thankyou.x
Oh wow! That’s fantastic!
This recipe looks amazing! A few questions: can almond butter be substituted for peanut butter? Can cacao nibs be substituted for 70% chocolate? TY
Almond butter definitely works, I haven’t tried cacao nibs, but it should work just fine!
Can you add vanilla protein powder to this?
The thing is, protein powder dry out cake batter. So if you add some, be aware that the texture might be crumblier or drier.
Ngl these were super good, i used blueberries instead of choc chips since i dont have any but it turned out amazing! The chickpea flavor is very prominent tho. I personally like it but if u are looking to mask it, try a diff recipe. Its a unique taste and i love ittt
so so delicious!
My kids (and husband) love these! They’re great to pack in school lunches. Thank you!
I’m thinking about making these for the holidays. I’m just wondering if they freeze OK?
Yes, they do!
These are delicious! Happy to find a healthier and tasty dessert recipe. Thank you for sharing!