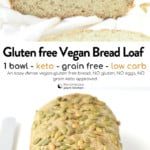
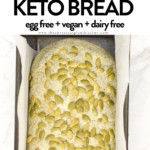
This easy Vegan Keto Bread Recipe is a simple and delicious bread loaf made with no yeast or bread machine! Plus, this is a low-carb keto bread recipe with only 2.2 grams of net carbs per slice!
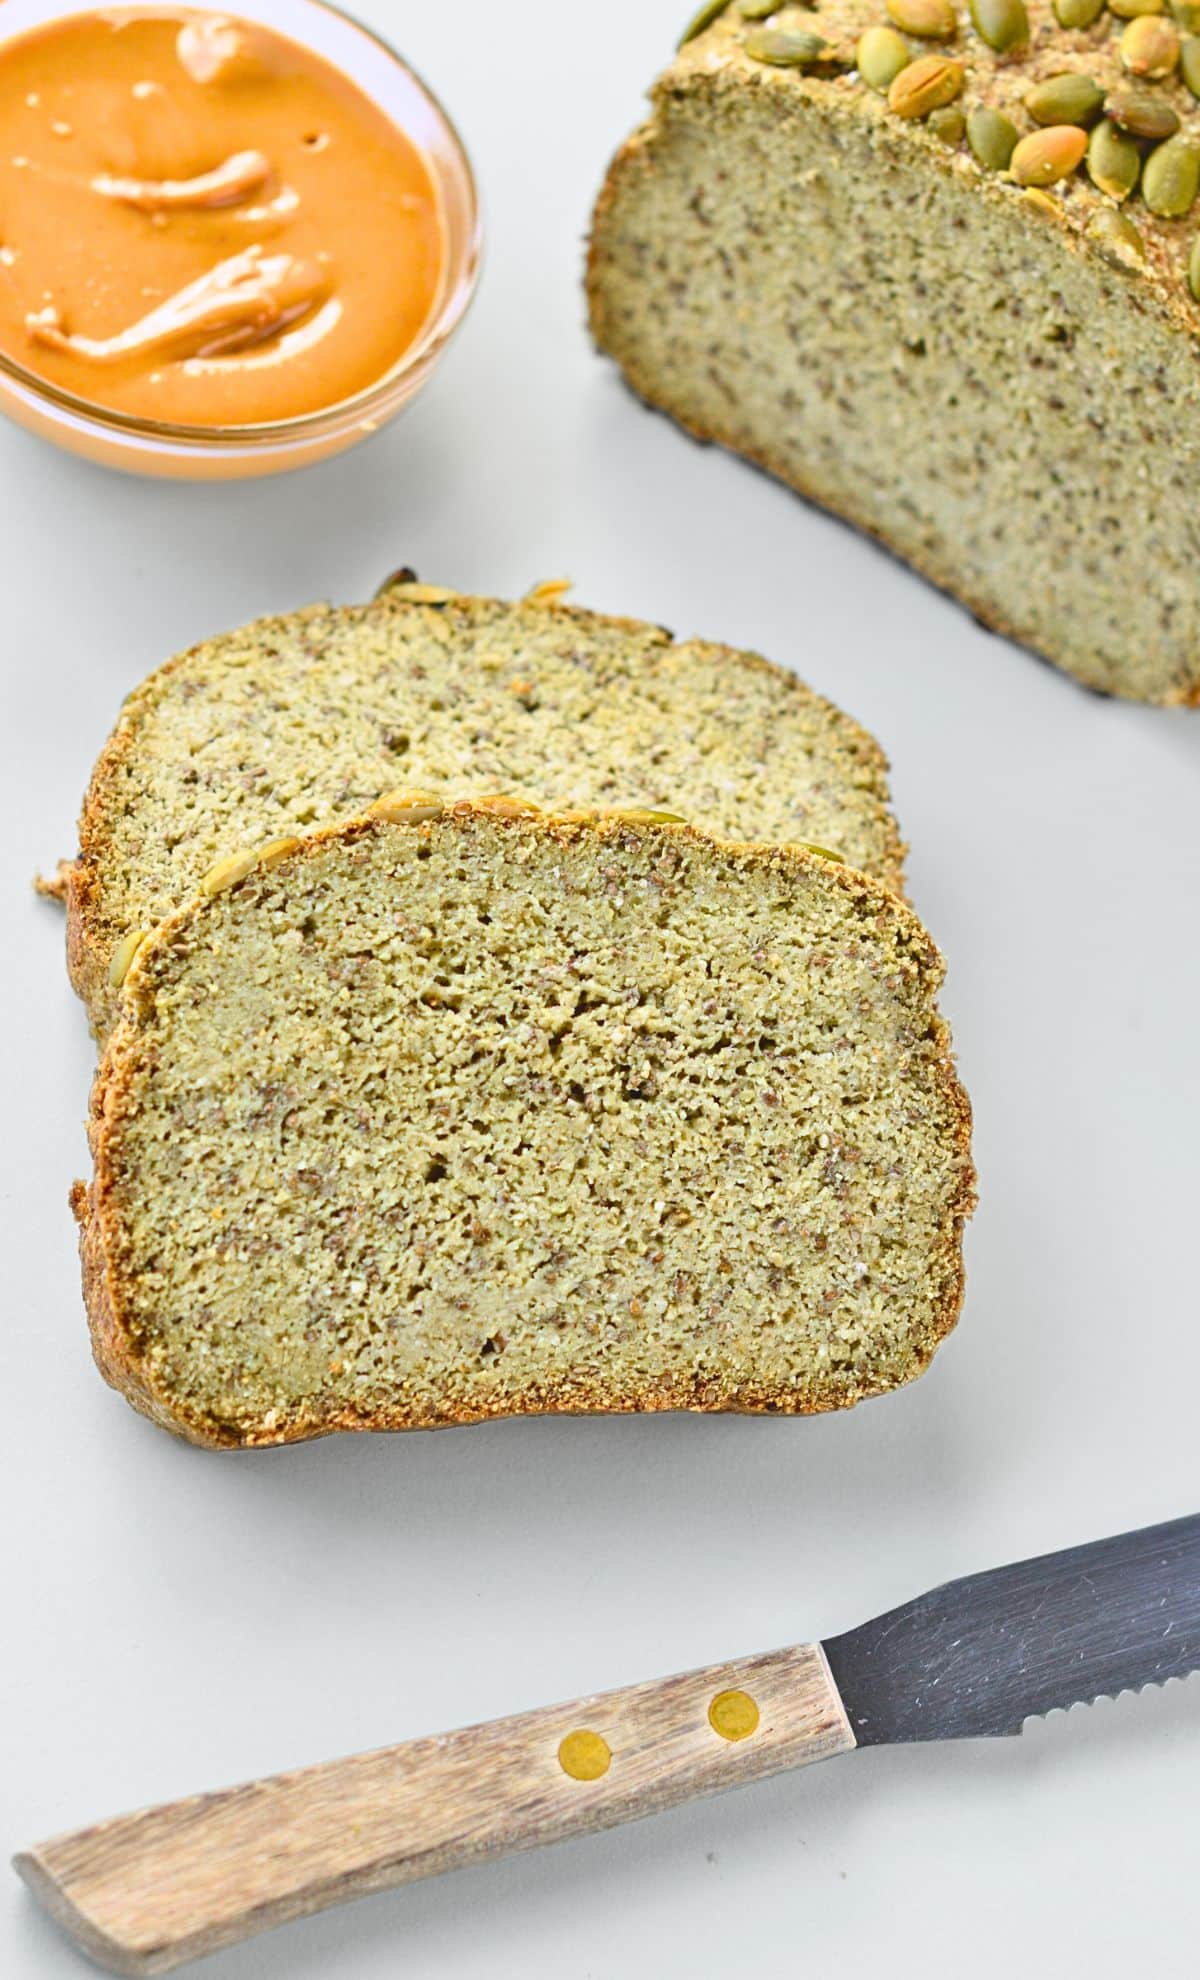
I have been following a keto diet for many years, and baking vegan bread for my vegan husband is my passion such as my Oat Flour Bread, Vegan Gluten-Free Bread, or 2-Ingredient Flatbread. And if I’m in a rush, I make my 2-Ingredient Bread.
You might have tried some of my keto breads on Sweet As Honey, but as you know, they require eggs most of the time.
Are All Keto Bread Vegan?
You will be surprised to hear that most keto bread recipes use eggs or milk.
Also, while some brands make gluten-free vegan bread recipes, they tend to use high starchy flour that makes the bread hard to digest and triggers carb cravings.
Ingredients and Substitutions
So keep reading to check the ingredients you need to make this easy yeast-free gluten-free keto bread recipe.
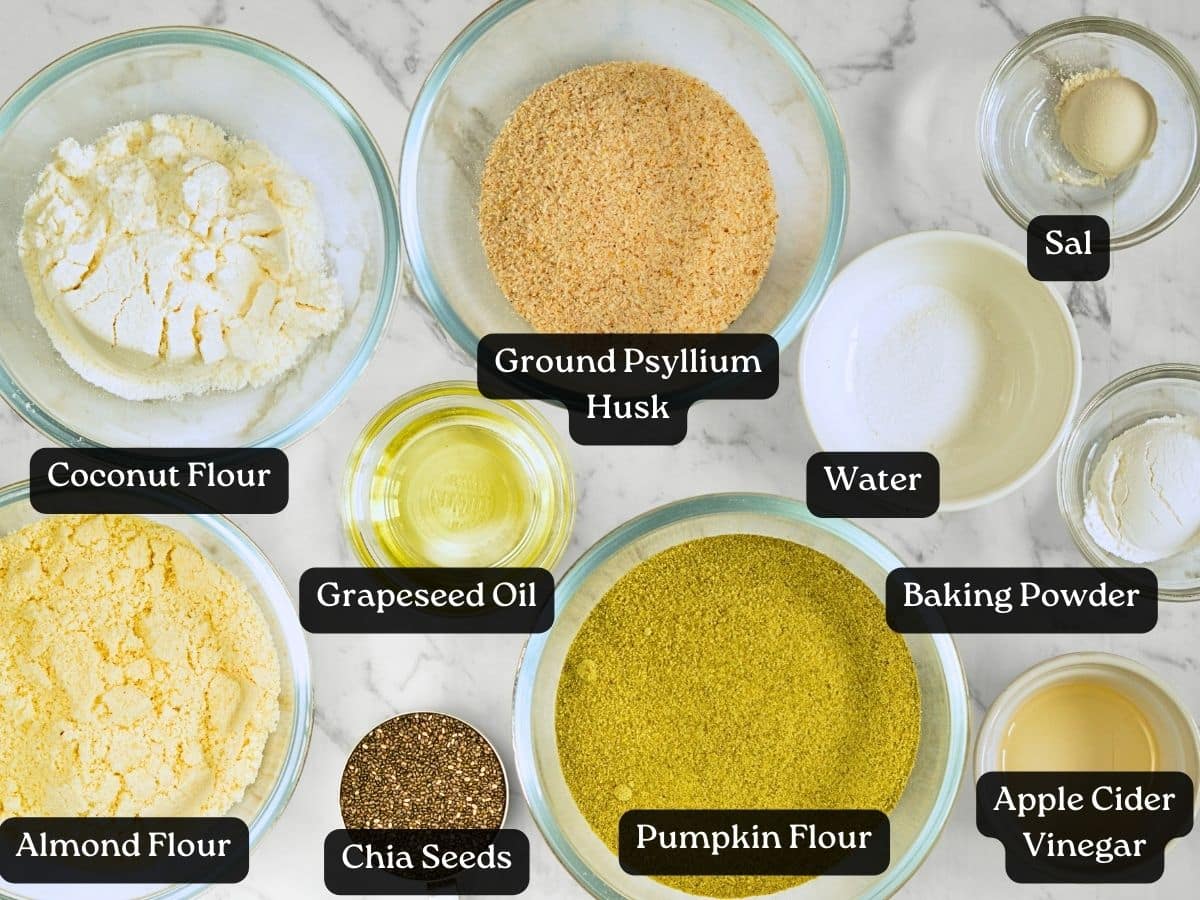
- Almond Flour – use fine blanched almond flour for the best result. You can use sesame seed flour or sunflower seed flour instead.
- Pumpkin Flour – Also known as pumpkin seed meal. If you can’t find this in your local supermarket, you can order it online or simply make yours at home. Add 3 cups of pumpkin seeds into a blender and blend until a powder forms. Don’t over-blend, or it will turn into pumpkin butter.
- Coconut Flour – This can’t really be swapped for another flour.
- Ground Psyllium Husk – This contains mostly natural fiber. It is a crucial ingredient in this recipe to hold the low-carb gluten-free flour together. Don’t skip or replace it.
- Chia Seeds – black or white whole chia seeds.
- Apple Cider Vinegar –You can use any acid like lemon juice or vinegar of your choice. This helps activate the baking powder as the recipe doesn’t contain gluten.
- Baking Powder – to give the bread some rise.
How To Make Vegan Keto Bread
This gluten-free, vegan bread recipe is delicious, fulfilling low-carb bread recipe using only nourishing low-carb flour.
It is a delicious, dense bread similar to German whole grain bread.
- Preheat the oven to 400°F (200°C), selecting the fan-bake mode if available. Line a 9-inch x 5-inch loaf pan with parchment paper, ensuring to lightly oil the paper to prevent the bread from sticking. Set aside.
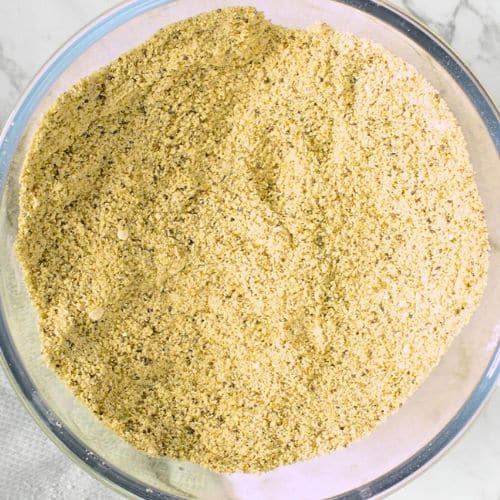
- Carefully measure all dry ingredients, for more precision by weighing them, particularly as the flours are rich in fiber, and inaccuracies may result in overly moist bread.
- In a large mixing bowl, whisk together all the dry ingredients, a process that should not exceed 30 seconds.
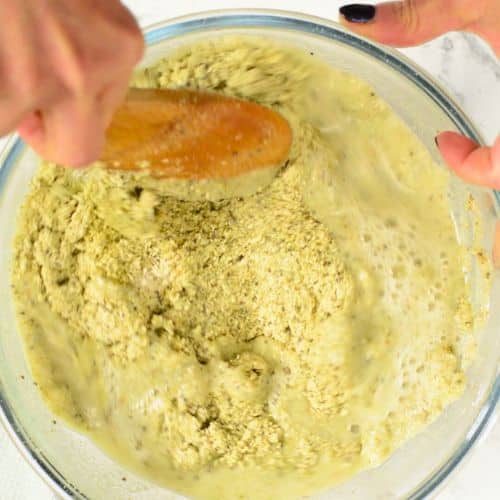
- Add the liquid ingredients to the bowl, ensuring the water is lukewarm for optimal activation of the flours. Aim for a temperature akin to a warm bath, approximately 40°C/105°F. Start stirring with a spatula, then knead the dough with your hands for 1-2 minutes until it forms a cohesive ball. The dough may possess a slight stickiness, which is normal. If the dough sticks excessively after 2 minutes, incorporate more husk gradually, adjusting by a teaspoon at a time. Alternatively, slightly oil or wet your hands to prevent sticking.
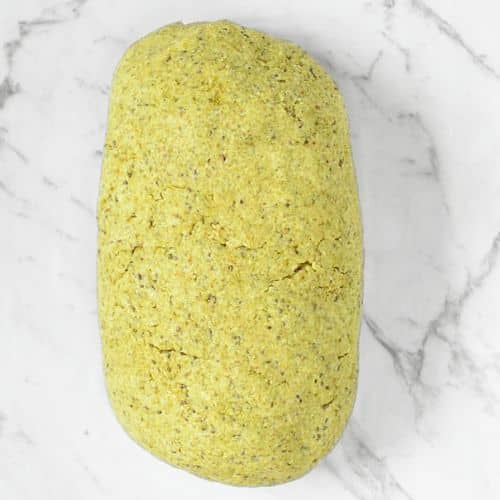
- Shape the dough into a round cylinder without flattening the top, as the bread does not rise or expand during baking. Craft the bread into the desired final shape.
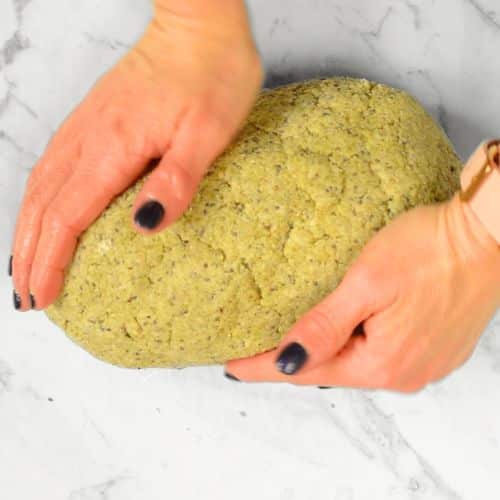
- Dampen your hands with water and massage the top of the bread to smooth out any cracks. Sprinkle pumpkin seeds on the bread’s surface, gently pressing them to adhere.
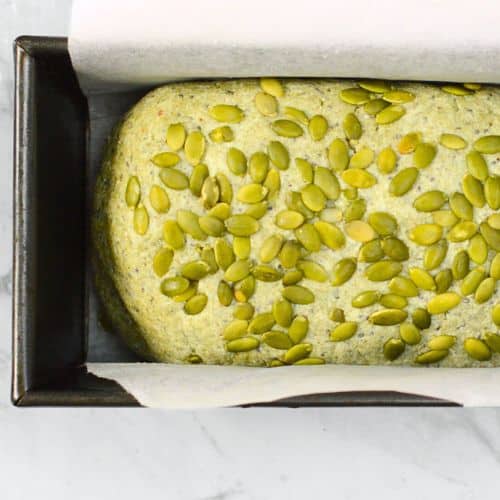
- Bake for 50 minutes, placing a piece of foil on top of the loaf pan after 30 minutes to prevent excessive browning while ensuring even cooking.
- After 50 minutes, assess the bread’s readiness by inserting a skewer into the center. If it comes out clean or with a few crumbs, the bread is done. If needed, continue baking for an additional 10 minutes, up to a maximum of 70 minutes.
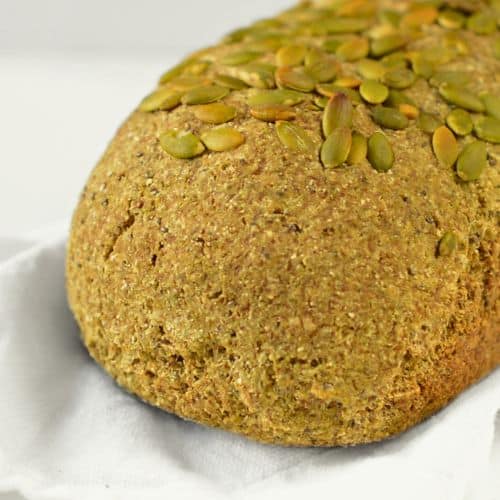
- Monitor the baking progress every 10 minutes after the initial 50 minutes.
- Allow the bread to cool on a rack for 3 hours before slicing.
Tip: Experiment with additional toppings or flavorings to personalize the bread according to your preferences.
Serving Suggestions
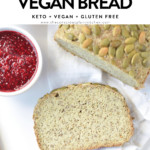
This is a very dense bread, better toasted. I recommend slicing thinly, toasting within minutes, and spreading peanut butter and baby jam on top.
Otherwise, use it as a sandwich bread with mashed avocado and raw vegetables of your choice.
Frequently Asked Questions
Many people who start the vegan diet overeat carbs to feel full. Consequently, they miss important nutrients from nuts and seeds.
That is with this in mind that I created this bread—a delicious dense bread containing enough fiber and protein to feel full.
Indeed, after only 2 slices, you will feel satisfied and load your body with important nutrients.
In fact, did you know that one serving of pumpkin flour (30 grams) covers 23% of your iron RDI?
It also contains 7 grams of protein and only 3 grams of net carbs. This said, you now understand why this keto vegan bread is good for you.
You probably wonder if this vegan, gluten-free bread recipe is high in fat or calories. Of course, as it is a keto vegan bread, it can be seen as high in fat. Surprisingly, it contains only 117 kcal per slice and 7.8 grams of fat. This is close to any regular wheat bread from the store!
Also, keep in mind that the fat in this keto bread recipe is the ‘good’ one. All the fat in this bread comes from nuts, seeds, and olive oil. It means it brings all the powerful omega 3 and 6 you need.
More Vegan Keto Recipes
This blog is about vegan recipes, but I like to share some vegan keto recipes as we are all keen to eat fewer carbs. If you enjoy eating vegan keto recipes from time to time, this is what I suggest you try.
Did You Like This Recipe?
Leave a comment below or head to our Facebook page for tips, our Instagram page for inspiration, our Pinterest for saving recipes, and Flipboard to get all the new ones!
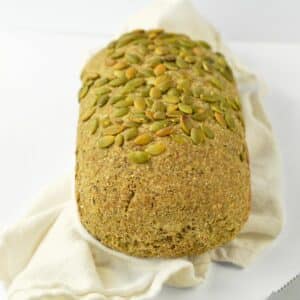
Vegan Keto bread
Ingredients
- 1 cup Almond Flour
- 1 cup Pumpkin Flour - see note to make your own
- ½ cup Coconut Flour
- ⅓ cup Ground Psyllium Husk
- ¼ cup Chia Seeds
- 1 tablespoon Baking Powder
- 1 teaspoon Salt
Liquid ingredients
- 2 tablespoons Grape Seed Oil - or olive oil, almond oil
- 1 teaspoon Apple Cider Vinegar - or lemon juice
- 2 cups Water - lukewarm 40°C (105°F) , think hot bath temperature
Instructions
- Preheat the oven to 400°F (200°C), preferably on fan-bake mode.
- Line a 9-inch x 5-inch loaf pan with a piece of parchment paper. Lightly oil the paper to make sure the bread doesn't stick to the pan. Set aside.
- Measure all the dry ingredients carefully, weigh them for precision as the flours are high in fiber, and missing some will result in wet bread.
- In a large mixing bowl, whisk all the dry ingredients together. It shouldn't take more than 30 seconds.
- Stir in the liquid ingredients, make sure the water is lukewarm. If too cold, the flours won't activate as well and as fast. Think hot bath temperature, around 40°C/105°F.
- Stir with a spatula first, then knead the dough with your hands for about 1-2 minutes until it comes together as a ball. The dough is slightly sticky, which is normal, but you should easily form a dough ball. If the dough sticks to your hands after 2 minutes kneading the dough, it means you need more husk. Adjust by sprinkling more husk, 1 teaspoon at a time, knead again 1 minute. You can also oil (or wet) your hands slightly to prevent the dough from sticking to your fingers.
- Form a lovely round cylinder shape, don't flatten the top, or the bread will be very dense. The bread won't rise or expand, shape the bread as you want it to look when out of the oven.
- Wet your hands with water and massage the top of the bread to smoothen any cracks.
- Sprinkle some pumpkin seeds on top of the bread and slightly press to stick to the bread's top.
- Bake for 50 minutes, adding a piece of foil on top of the loaf pan after 30 minutes to ensure that the bread cooks perfectly inside and the top doesn't burn.
- After 50 minutes, insert a skewer in the middle of the bread. If it comes out clean or with a few crumbs, it is ready. Otherwise, keep baking for 10 more minutes up to 70 minutes max. Check the baking every 10 minutes after 50 minutes.
- Cool on rack for 3 hours before slicing.
How to eat?
- This is a dense bread-like German whole grain bread, it can be a bit moist in the center, and some people may prefer to toast each slice before eating.
- Use as a sandwich bread or toast for breakfast with your favorite spread like peanut butter and chia seed raspberry jam.
Storage
- Store up to 1 week in the pantry, wrap the bread in a clean kitchen towel, and slice when needed to keep the loaf fresh.
- Freeze sliced in an airtight box or zip lock bags. Defrost in a toaster or at room temperature for 2 hours, then toast.








Hi, Carine!
I don’t usually write letters of this kind, but I couldn’t keep silent here!
Thank you for your wonderful recipes and hard work!
I want to note your positive energy, it is felt even at such a distance, and this is priceless for me!
Tu es magnifique
I love this bread. I’m curious though, my loaf comes out really small, maybe half the size in the video.. any ideas why? 1 slice is smaller (almost equal) than the area of the palm of my hand
The only reason I see is that you used a longer loaf pan and make a long bread, less wide.
Hi do you think this could be made in a bread machine at all
I don’t have a bread machine so I am not sure how it will come out I am sorry.
I am difficult. Bread is the most important to me to enjoy a meal. I am Vegan, Gluten-Free, Keto and follow a sattvic diet to the best of my ability. I am French, living in the UK. So, finding a good, suitable bread is extremely hard.
Let me tell you that this is truly one of the tastiest breads I’ve ever had. Mine actually nearly doubled in volume so I wasn’t sure why you said it doesn’t expand?
Very expensive in terms of the ingredients, but so, so, so worth it. My god. Truly stunning bread.
Thank you so much for this recipe you are saving me. Since following Keto, I thought I’d be hopeless!
Best to you!
Thank you do much ! merci!
tried this over the weekend.
just had some toasted with peanut butter.
very nice.
I might divide it into bread rolls or ‘english’ muffin shapes next time.
(it actually looked like the picture too, except my pumpkin seeds fell off!)
Hi the turned out great but more on the black side. I think it is the psyllium husk. Any remedy? Thanks
Yes, some brand of husk turn food dark, try a different brand next time,
Can I use xanthan gum instead of psyllium husk u. The recipe?
No I am sorry it won’t work in this recipe
A great recipe! The taste is similar to whole-wheat bread, un my opinion. The first time I tried it, though, it was a little wet. I toasted it, but it didn’t lose all its moisture. So I made the same recipe once more, but turned the bread into small buns. I also used another teaspoon of baking powder. The result was excellent-no moisture inside, The buns are well risen and fluffy inside.
Thanks for this wonderful recipe! I have made it a couple of times and now feel comfortable enough to add ingredients. To make this more of a sweet bread I added two tablespoons of sugar free maple syrup, cinnamon and nutmeg. A savory loaf by following the recipe and adding a liberal amount of everything but the bagel seasoning. Baking times were the same. Currently I’m experimenting with walnut flour (lazy, it’s on hand) instead of the pumpkin seed flour and reduced the psyllium by two tablespoons.
Hey!
Awesome comment, I felt the same about making a sweeter version to use for sweetened spreads. Can you tell me how you got on with your walnut flour too please? I also felt like reducing the psullium because mine grows very big in the oven and also it is quite expensive. Does it work well with less of it please?
Looks delish!