This Healthy Thin Mints Recipe makes rich, thin, and crunchy dark chocolate cookies with a hint of peppermint and coated with chocolate. It’s a classic in girl scout cookie blends.

Chocolate and peppermint is a perfect combination and make the most delicious refreshing treats. If you have tried my peppermint snowball cookies or peppermint hot chocolate, you will love these cookies.
I love making healthier versions of classic recipes, from my 3-Ingredient Lemon Donuts, Healthy Banana Brownies, or Healthy Peanut Butter Cookies.
Why You’ll Love These Cookies
These thin crispy chocolate cookies coated with melted chocolate are sure to impress. They are perfect for the holidays or any time of the year to indulge in a chocolate treat that is refreshing and healthy.
These homemade thin mints are also very good for you as they are:
- Egg-free
- Gluten-free
- Grain-free
- Vegan
- Dairy-free
They tick all the dietary boxes so you can share these thin vegan mints with all your loved ones.
Ingredients and Substitutions
All you need to start are:
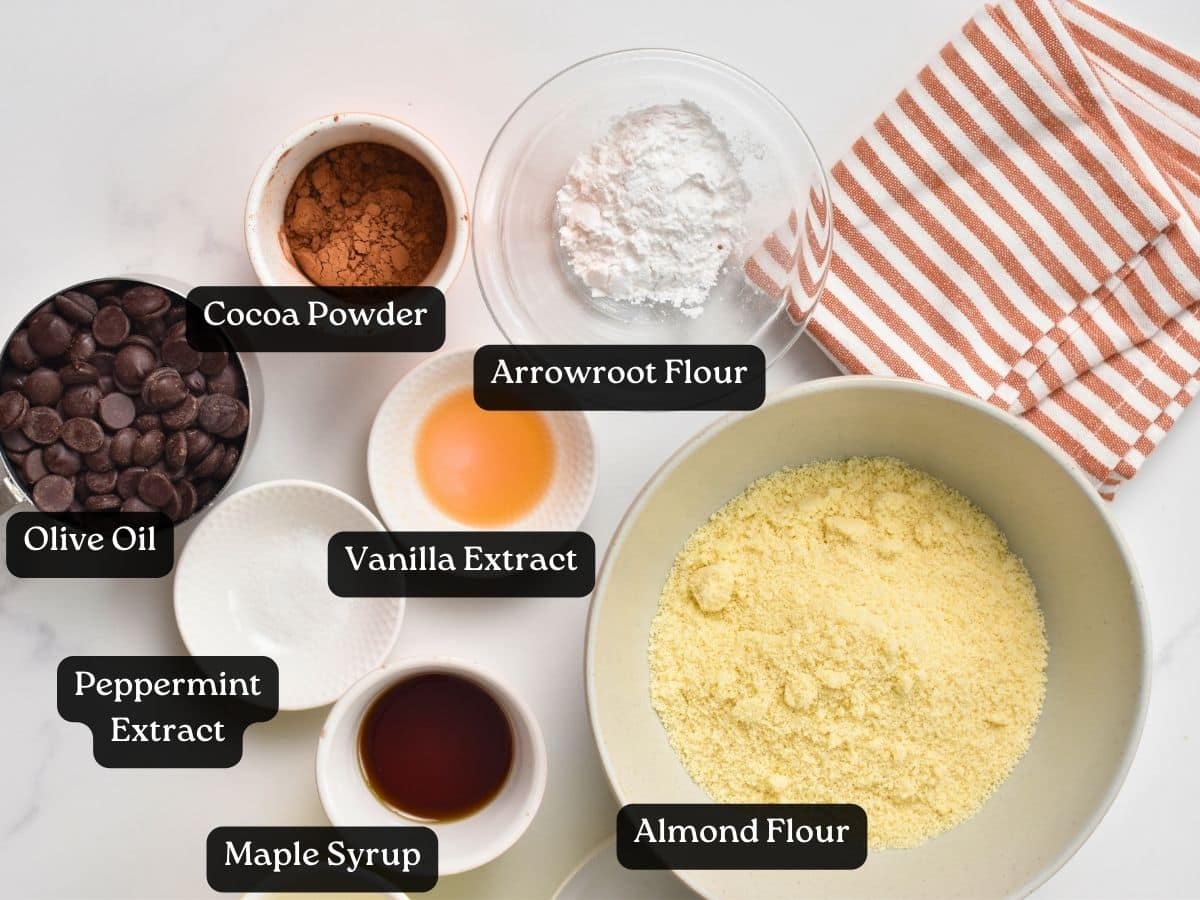
- Almond Flour – I am using ultra-fine blanched almond flour that provided the best texture. Almond meal would work but results in a grainy texture.
- Arrowroot Flour – The addition of starch adds a good crunch to the thin cookies. Try cornstarch or corn flour instead if needed.
- Unsweetened Cocoa Powder – it makes it easier to balance the sweetness if there’s no sugar.
- Maple Syrup or any liquid sweetener you love, like agave syrup or coconut nectar.
- Peppermint Extract or peppermint essence.
- Coconut Oil – melted or avocado oil or any vegetable oil you like.
- Vanilla Extract – For flavors.
How To Make Healthy Thin Mints
It’s a very simple cookie recipe that requires not only just a few ingredients but also minimal baking skills. So don’t be afraid of their sophisticated look, these healthy thin mints are easy to make!
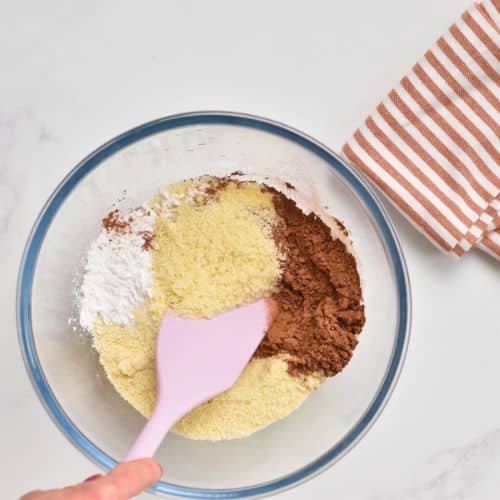
- In a large bowl, stir all the dry ingredients together: almond flour, tapioca flour, unsweetened cocoa powder, and salt.
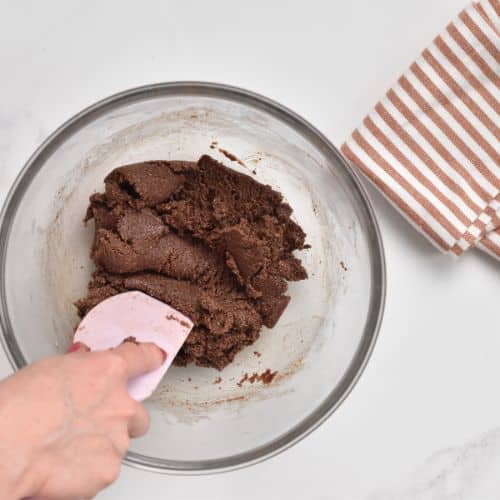
- Next, add in the liquid ingredients: melted coconut oil, vanilla extract, peppermint extract, and maple syrup.
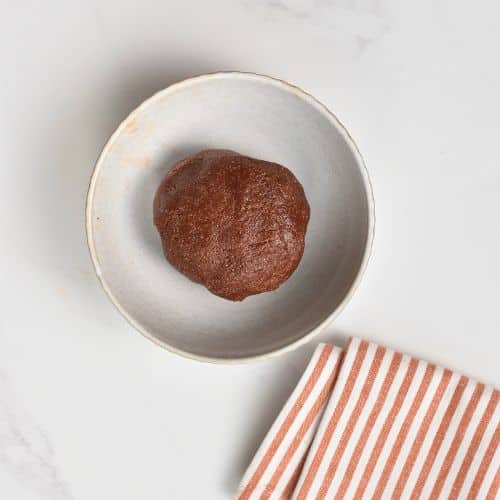
- Stir well with a silicone spatula or wooden spoon to bring all the ingredients together. It should be sticky but easy to bring together into a dough ball. Use your hands if needed.
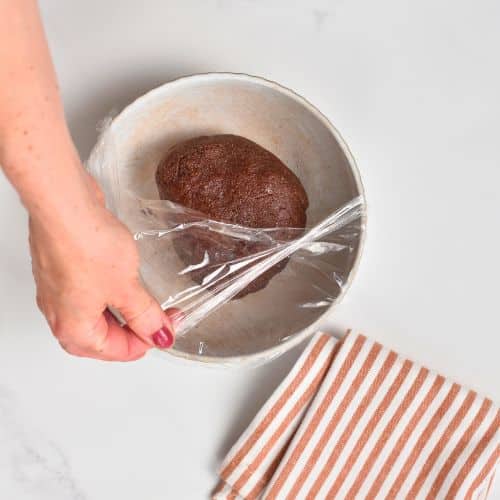
- Cover the bowl with plastic wrap or a lid and refrigerate for one hour.
- Preheat the oven to 350°F (180°C). Line a large baking sheet with parchment paper and lightly oil the paper with oil spray.
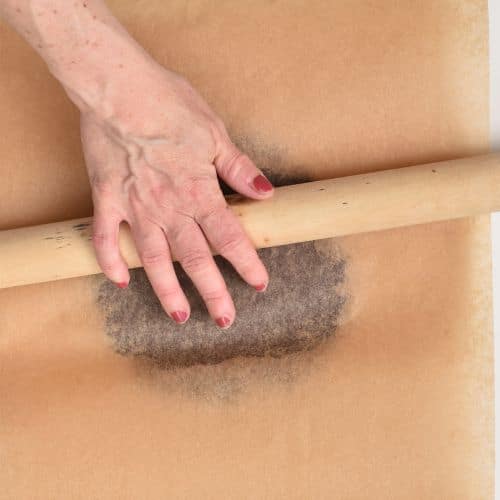
- Roll the dough between two pieces of slightly oiled parchment paper. Oil side touching the dough.
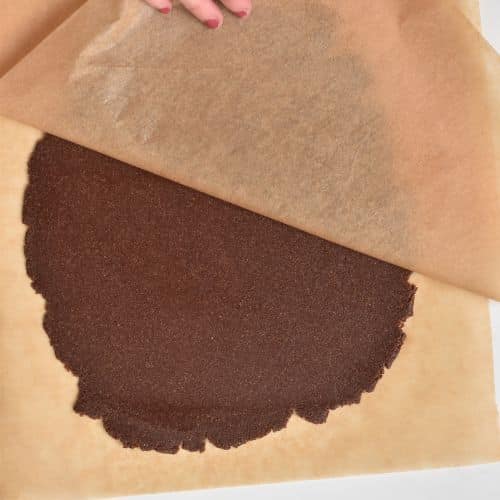
- Roll until thin, then peel off the top piece of parchment paper.
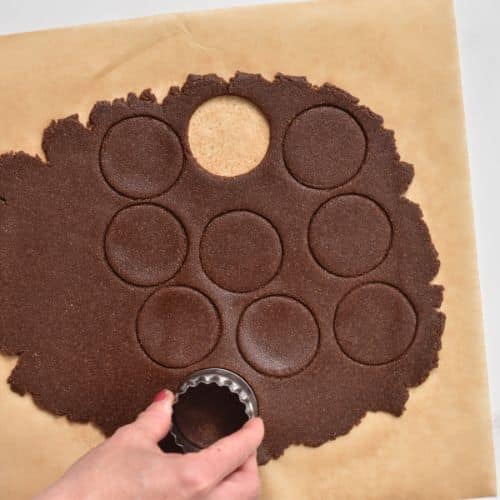
- Use a round cookie cutter to cut out shapes.
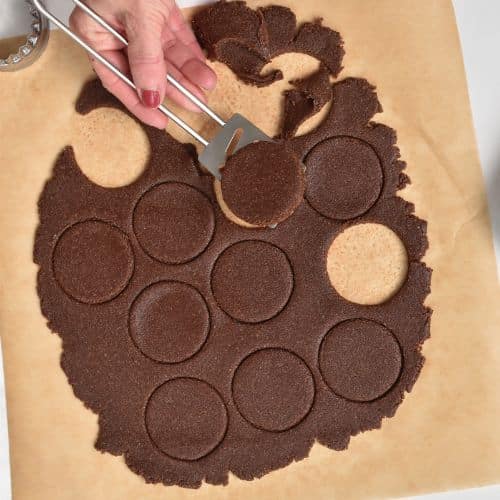
- Use a flat tool to slide under each shape and transfer the cookie to the lined baking sheet.
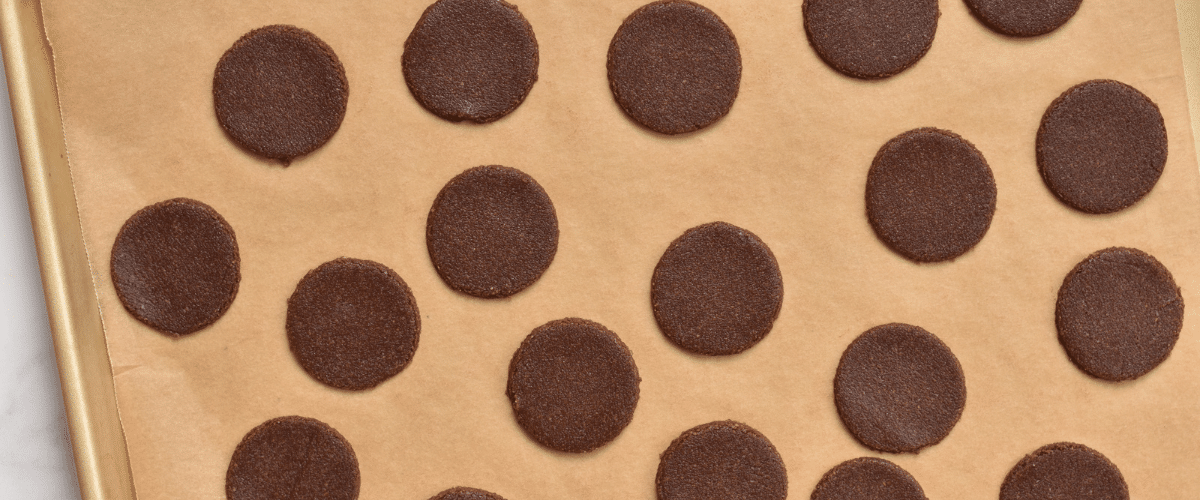
- Repeat until all cookies are on the baking sheet, and leave a little space between the cookies so they don’t touch each other. The cookies won’t expand in the oven, so there’s no need to add too much space.
- Bake the mint cookies for 9 to 10 minutes or until slightly darker on the sides.
- Let them cool down for 15 minutes on the baking sheet at room temperature before transferring them to a cooling rack.
- Transfer to a wire rack to cool completely, which takes about 30 minutes.
Coating The Cookies
For the chocolate coating, you need two ingredients:
- Semi-Sweet Chocolate Chips or dark chocolate chips for a stronger chocolate flavor.
- Coconut Oil or oil you like.
- Optional: extra peppermint extract.

- Add the chocolate chips and coconut oil to a large glass bowl. Boil some water in a saucepan, remove from the heat, and place a glass bowl on top of the saucepan with boiled water.
- Enhance the mint flavor of your cookies by stirring peppermint extract in the melted chocolate.
- Use a silicone or wooden spoon to stir the mixture and melt gently. This is the double boiler method that ensures a shiny chocolate shell. To work faster, add the ingredients in a microwave-safe bowl and microwave in 30-second bursts until melted.
- Prepare a lightly oiled wire rack on the benchtop, I like to add a piece of parchment paper under it to absorb the melted chocolate that runs down on it. Set the rack aside.
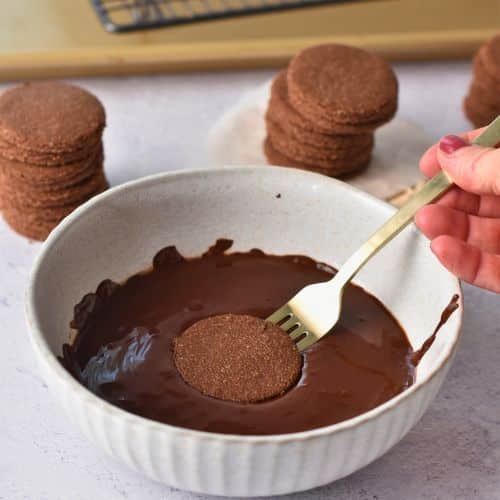
- Use two forks to dip and flip the cooled thin mint cookie in the melted chocolate.
- Lift the cookie above the bowl and wait for a few seconds to let excess chocolate run down the bowl, then transfer to the oiled wire rack to cool. Repeat for all cookies.
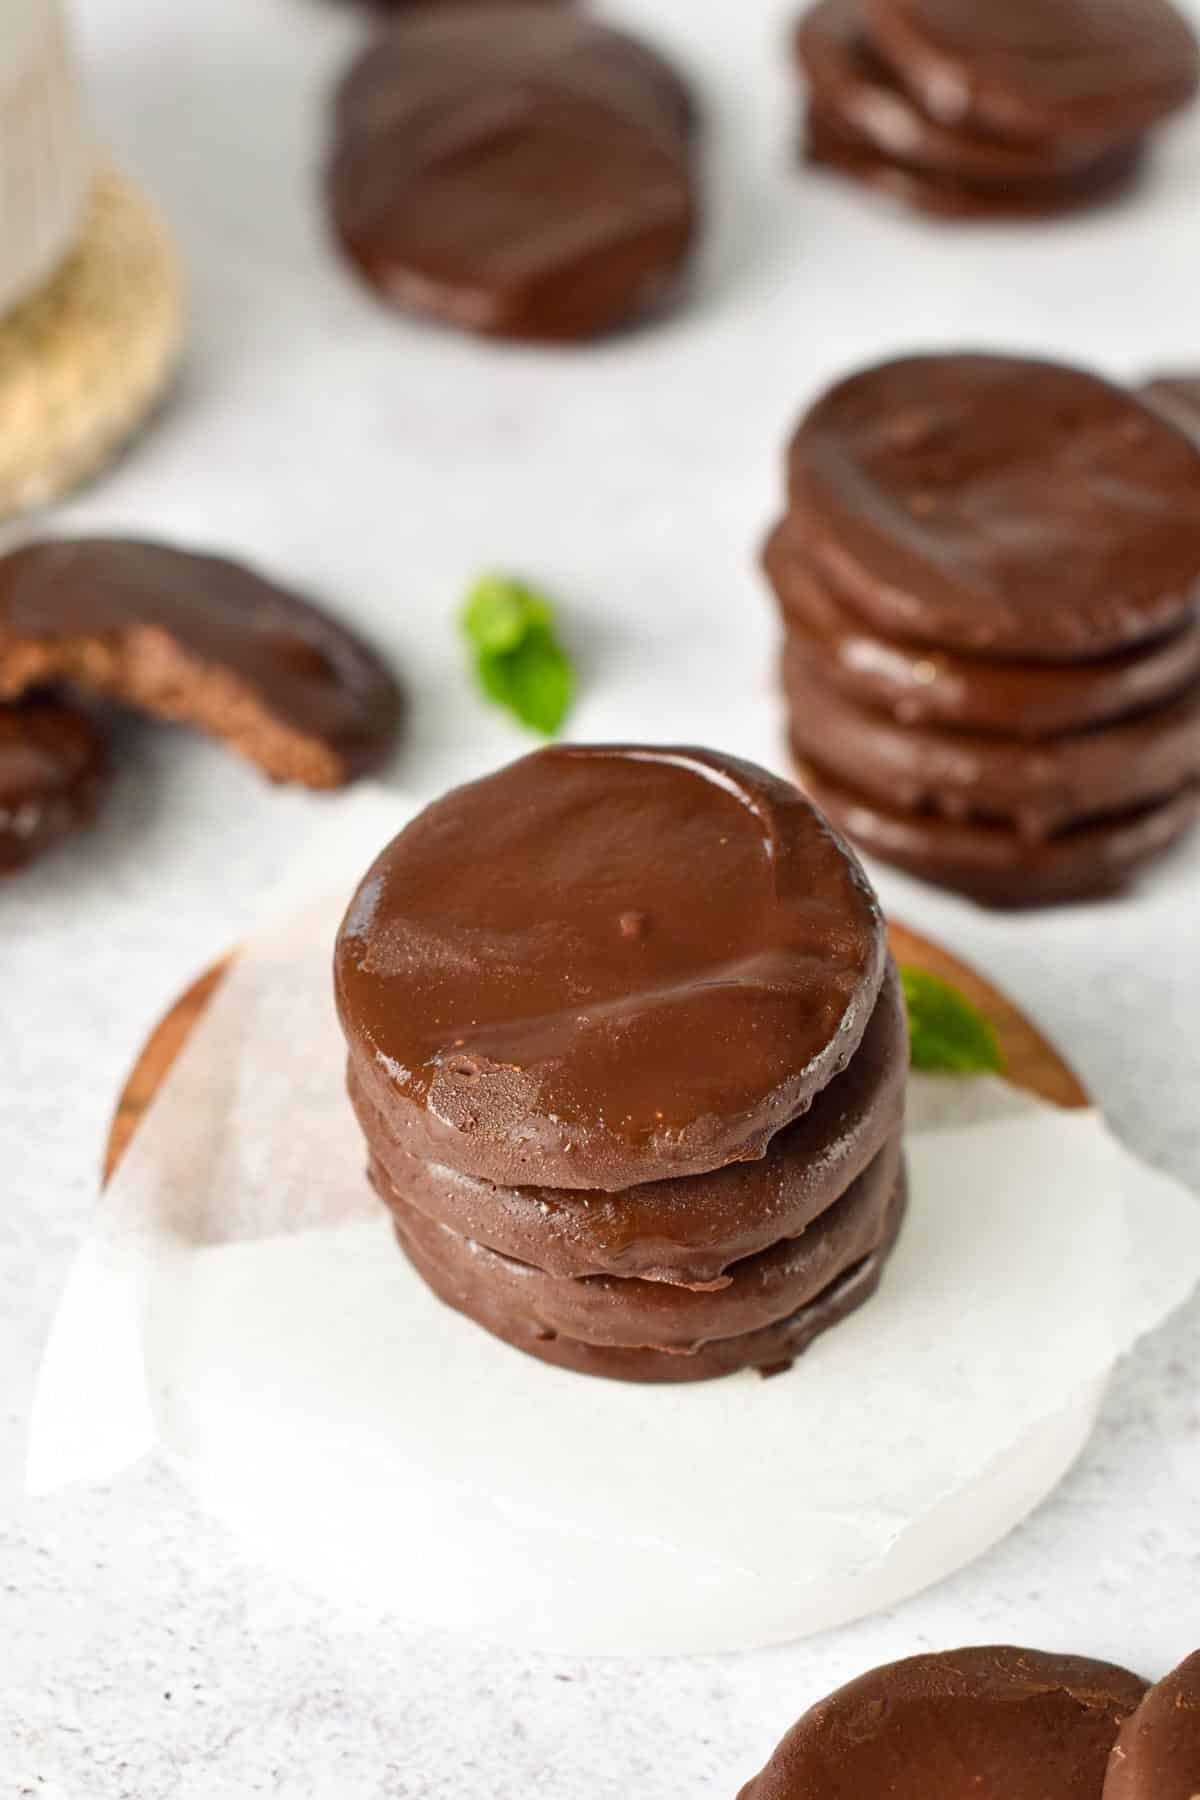
- Pop the wire rack in the fridge for a few hours or 12 minutes in the freezer to set the chocolate shell fast.
Storage Instructions
These cookies taste better if stored in the fridge, even if they keep their crunch at room temperature, the peppermint flavor is enhanced when cold.
I recommend keeping your homemade thin mint cookies for up to one week in a sealed jar in the fridge.
Allergy Swaps
Below are some ingredients swap ideas if needed:
- Nut-Free – Almond flour can be replaced with sesame seed flour or sunflower seed flour. I didn’t try oat flour, and I think it will come out dry.
- Arrowroot Flour can be swapped for tapioca flour, cornstarch, or corn flour. You can also use more almond flour. You may need 3 to 4 tablespoons of almond flour to replace the 2 tablespoons of arrowroot flour.
- Sugar-Free – Sugar-free liquid sweeteners should work. Depending on their water-to-fiber ratio, you may need more or less.
Frequently Asked Questions
Below are my answers to your most frequent questions about this thin mint recipe.
No, thin mints are not vegan the chocolate coating contains milk solids.
More Chocolate Cookies
If you like cookies with chocolate, you’ll love these:
Did You Like This Recipe?
Leave a comment below or head to our Facebook page for tips, our Instagram page for inspiration, our Pinterest for saving recipes, and Flipboard to get all the new ones!

Thin Mints Recipe
Ingredients
- 1 ¼ cup Almond Flour - (note 1)
- 2 tablespoons Arrowroot Flour - (note 2)
- 2 tablespoons Unsweetened Cocoa Powder
- ¼ teaspoon Salt
- 3 tablespoons Maple Syrup - (note 3)
- 3 tablespoons Coconut Oil - melted (note 4)
- ½ teaspoon Peppermint Extract
- ¼ teaspoon Vanilla Extract
Coating
- 1 cup Dairy-Free Dark Chocolate Chips - (note 5)
- 2 teaspoons Coconut Oil
- ¼ teaspoon Peppermint Extract
Instructions
- In a large mixing, combine all the dry ingredients: almond flour, arrowroot flour, unsweetened cocoa powder, and salt. Set aside.
- Add liquid ingredients: maple syrup, melted coconut oil, vanilla extract, and peppermint extract.
- Stir until it forms a sticky cookie dough that comes together into a ball. If too dry, add 1-2 teaspoons of water. If too wet, add more almond flour, 1 tablespoon at a time. It should be sticky but not too wet and easy to bring into a ball.
- Cover the bowl with plastic wrap and refrigerate for 1 hour.
- Preheat the oven to 350°F (180°C). Line a large baking sheet with parchment paper. Slightly oil paper with oil spray. Set aside.
- Prepare two long pieces of parchment paper. Place the dough ball in the center of one piece and press the second piece of parchment paper on top of the dough ball. See my picture above in the post for visual help.
- Roll the dough encased between the 2 pieces of parchment paper until thin enough to cut out. The thinner, the crispier they will be.
- Peel off the top piece of parchment paper and, using a round cookie cutter shape, cut out cookies. Reform a cookie dough ball with leftover dough, reroll following the process above, and cut out more cookies.
- Use a small flat spatula to slide under each cut-out cookie and transfer them to the lined baking sheet. The cookies won't expand but keep them apart, so they don't touch each other.
Baking
- Bake the cookies for 9-11 minutes or until slightly darker on the sides. Cool them for 15 minutes on the baking sheet at room temperature before transferring them to a wire rack for another 30-45 minutes.
Chocolate coating
- Prepare a lightly oiled wire rack on top of a chopping board. This is where the dipped cookies are going to let the excess chocolate run down. Set aside.
- Melt the chocolate chips and coconut oil in a microwave-safe bowl in 30-second bursts.
- When the chocolate has melted, stir in peppermint extract.
- Use two forks to dip the cooled thin mint and wait a few seconds above the bowl, so the excess chocolate runs down the bowl. Then transfer to the prepared wire rack.
- Repeat for all cookies, then place the wire rack with chocolate-dipped cookies in the fridge fpr 2-3 hours or 15 minutes in the freezer to harden the chocolate shell.
Storage
- Store the cookies in an airtight container in the fridge for up to 1 week. These cookies taste better cold but stay crunchy at room temperature.
- Freeze the cookies in zip-lock bags for up to 3 months and thaw them in the fridge the day before.




Best healthy recipes on earth
Oww thank you!!
Lovely, very tasty and easy to make.
I made them with my daughter, the recipe was a breeze and they taste like classic thin mints, yum.